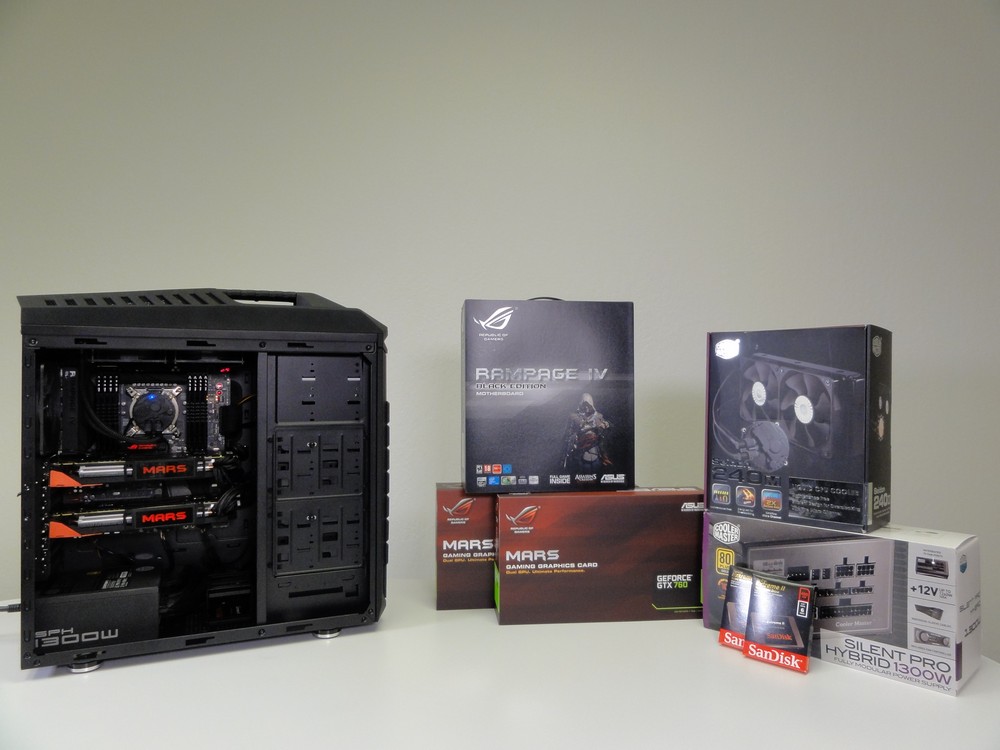
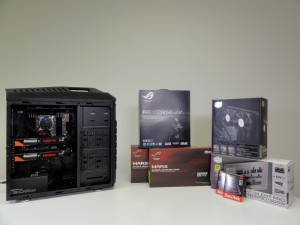
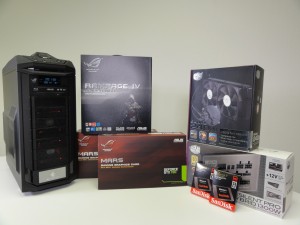
I have been hard at work here at the PCDIY labs, working to produce some interesting and dynamic content ranging across numerous product categories. Having all this amazing hardware in hand but limited time to tweak, tune and test it has been difficult but equally enjoyable.Even with those challenges I knew I had to do something special for our new flagship ROG series motherboard, the RAMPAGE IV BLACK EDITION, which for the rest of the article will be called the RIVBE. In addition to the RIVBE I recently got my hands on the new ROG MARS 760, a new ultra high end dual GPU that rivals and beats the GTX TITAN and GTX 780 in regards to performance. Having these two UBER products in hand I took my passion and need for building, tweaking and tuning and decided to put together an awesome X79 gaming build. This build would be build on the the RIVBE and its graphic part driven by an QUAD SLI array of two MARS 760 graphics cards. Rounding out this ultimate build would be great hardware from Cooler Master, Western Digital, G.SKill, and SanDisk. So what happens when you take the best X79 gaming motherboard and 2 monster MARS 760 graphics cards and build a gaming system around it?
Knowing that I had this amazing motherboard and GPUs in hand you can understand how excited I was to start this build. Prior to kicking off the build though I needed to detail the exact components I planned to use. So as many of us do when building a system I started detailing the build list. The build list defines and influences all aspects of your soon to be system whether it is the aesthetics, functionality, features, performance, cooling , expansion or any other of the important items you must consider when building a PC. This being PCDIY I wanted to make it easy for you guys out there should you be interested in building a similar system. I have detailed the list of components used in this build an noted them below.
Ultimate Gaming PC Parts List – X79 – Featuring RAMPAGE IV BLACK EDITION AND MARS GTX 760
[qd_list]
- Chassis / Case – Cooler Master CM Storm TROOPER
- Motherboard – ASUS ROG RAMPAGE IV BLACK EDITION
- CPU – Ivy Bridge E Core i7 4960X Extreme Edition
- CPU Cooler / Heatsink Solution – Cooler Master Sedion 240M
- Graphics Card / GPU – ASUS ROG MARS 760 ( 2 in SLI )
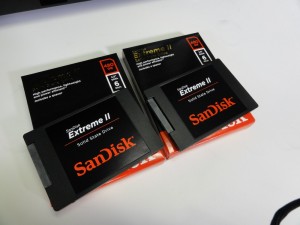
- Storage SSD – ( OS Volume ) SanDisk Extreme II 480GB ( 2 in RAID 0 )
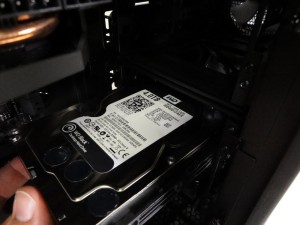
- Storage HD – ( OS Volume Backup and Local Storage and Local Storage Backup ) Western Digital 1TB VelocipRaptor, Western Digital 4TB Black Series
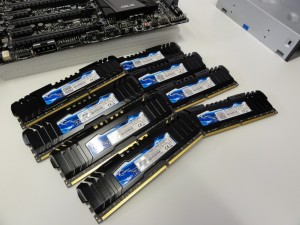
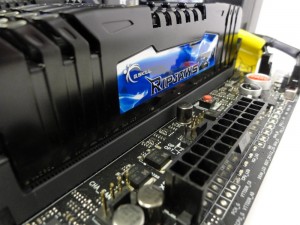
- RAM / DRAM / Memory – G.SKILL RipjawsZ 64GB DDR2133 Kit – F3-2133C9Q2-64GZH
- Optical Drive / ODD – ASUS BW-16D1HT
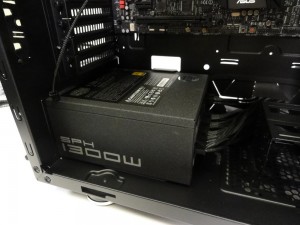
- Power Supply / PSU – Cooler Master Silent Pro Hybrid 1300 Watt
[/qd_list]
Getting The Hardware Together, The Basics –
The first part to any successful build is getting together your hardware for a quick post test. This is essentially taking all the key components and testing them outside the chassis. If you are not familiar with this process make sure to check out the video we recently posted covering this step by step. The video not only covers how to setup your setup for a post test but also covers a number of important steps to take complete prior to getting all your hardware installed in the chassis. Since the focus of this article is on the general experience of putting together this system we are not going to document every single step needed in building a PC. The goal is to give you some sense of understanding on how the system came together as well as point out some reasons we picked the hardware we did. So with that lets jump into the build!
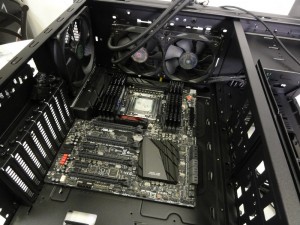
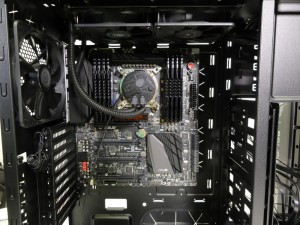
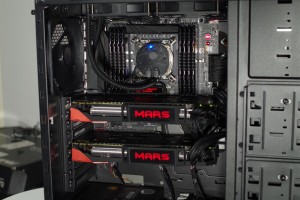
First up I installed the CPU into the RIVBE and installed the Seidon 240M. This is a great pairing in regards to giving us great thermal performance whether it be stock or overclocked. In addition the closed loop solution offers some great benefits I have detailed below. I also loaded an 8 DIMM kit of some high quality and high speed DDR 3, specifically G.SKILL RipjawsZ. I selected G.SKILL to not only ensure outstanding performance but great reliability and compatibility, two items which are extremely important in the selection of memory. Additionally this high speed kit will be even more useful when paired with the ROG RamDisk software that comes with the RIVBE. So far first impression are looking and going smoothly. I must say this dark black vibe works quite well.
Some of the features and benefits of the Seidon 240M.
[qd_list]
- Waterblock made with UltraFine Micro Channel enlarge the contact surface between cold plate and coolant.
- Double 120mm PWM fan with a wide RPM range to fine tune and balance fan noise and performance.
- FEP tubing offer an advantage of nearly no moisture absorption, high thermal stability and high pressure tolerance. All of this helps to extend the Sedion’s lifespan and reliability and durability.
[/qd_list]
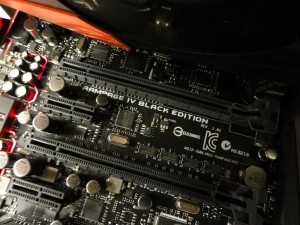
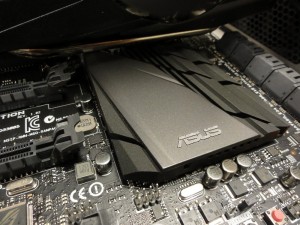
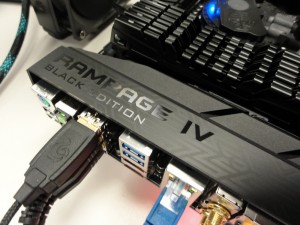
Moving back to the motherboad, the RIVBE looks great with the Seidon 240M. The RIVBE equally offers its own impressive cooling tech through the implementation of an advanced heatpipe heatsink design that extends to the I/O back plane. This design helps to reduce VRM temperatures ensuring superior stability when overclocking. When combined with the advanced VRM components such as high amperage fully molded inductors ( chokes ), NexFET mosfets as well as Nichicon GT 10K capacitors the Black Edition is more than ready for 4.6GHz+ overclocking on the latest Ivy Brdige-E processors. So whether you have a 4820K, 4930K or 4960X you are going to be in for a great overclocking experience with this board.
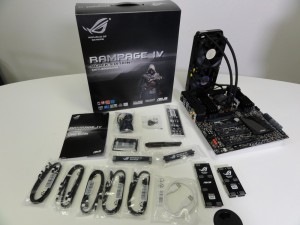
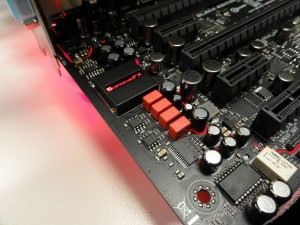
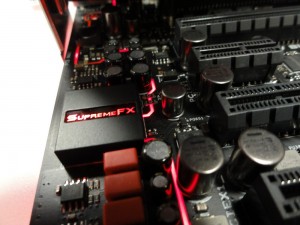
While this is not a overview on the RIVBE I figured I would throw in some pictures showing the extensive accessories as well as some of board level features that come with the RIVBE. The RIVEBE improves upon the previous Rampage IV Extreme and P9X79 Deluxe by including 802.11AC dual band WiFi and BT 4.0 onboard. In addition the RIVBE features the highest end and highest quality on board motherboard audio solution, SupremeFX. This is the same high end advanced design featured on the MAXIMUS VI FORMULA. This generation includes audiophile grade elements like WIMA and ELNA Audio Capacitors, a Cirrus Logic CS4398 DAC, a NEC Tokin UC2 Audio relay and rounding it out a TI TPA6120A2 HiFI headphone amp. When you begin to look at this alone not to mention the slew of other features you begin to see how impressive this board is. In addition to these features the RIVBE includes features and functions you would expect from enthusiast board as well as those only ASUS and ROG bring to the table. These include USB 3.0 and USB 3.0 Boost, additional SATA connectivity, FanXpert II advanced fan controls, specially designed PCB and advanced power delivery and VRM implementation. All this and more really make the Black Edition a very special board. You can begin to see why the board has been in development for over half a year. To top it all of there is even a custom windows theme on the support DVD that is gives your windows desktop and icons and cursor the Black Edition treatment.
Getting The Hardware Together, The Chassis –
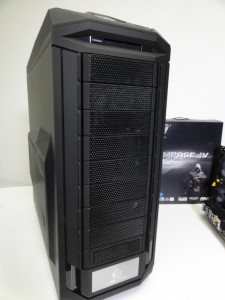
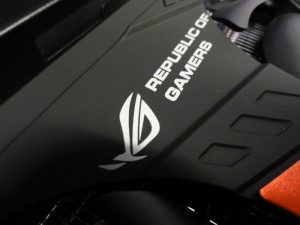
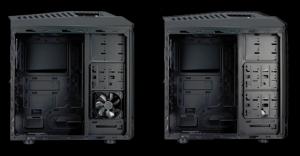
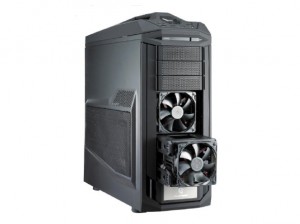
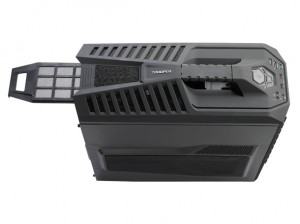
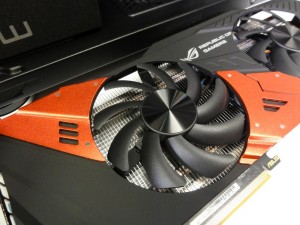
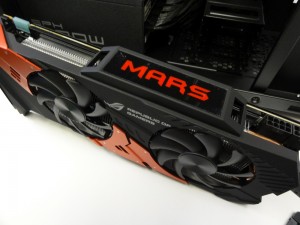
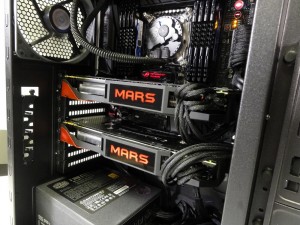
The chassis is such a key part of your build experience as it is the environment you work in. A well designed chassis pays for itself easily when you notice what you do not notice during the build. Things like quality finishes that do not nick, cut or scratch your hands or fingers, sensible and open layouts allowing for flexibility in mounting, positioning and airflow. In addition specialized features and aesthetics touches which align with your build. All this and more was present in the CM TROOPER chassis I used. I also loved the fact it had the soft touch rubber finish throughout offering a great aesthetic symmetry to our MARS 760 graphics card which features the same soft touch finish on it heatsink assembly. You can see in the pictures below the similarity. If you are in a reasonable state of mind you will agree the look is very cool! Overall the CM TROOPER proves it’s self worthy of the RIVBE and the MARS 760 GPUS. It offers us a great look with a clean back aesthetic that provides just as much functionality and flexibility as as the RIVBE.
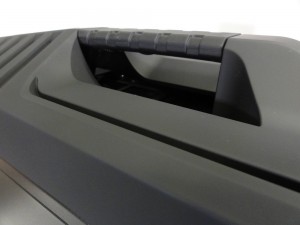
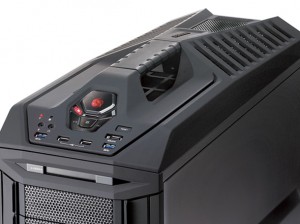
Below are some photos of the soft touch finish on the CM STORM TROPPER AND MARS 760.
Getting to build in the CM TROOPER was a great experience everything went smoothly. A well detailed manual, smart placement throughout as well as flexibility in hard drive cage made working with the CM TROOPER a very positive experience. This is not always the case ( pun intended ) with some chassis.
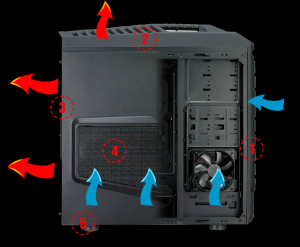
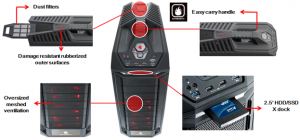
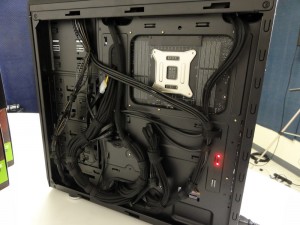
Lets look at some of the great features offered on the CM STORM TROPPER. Going through the pictures you will see some great usability points and general features of the CM STORM TROOPER. Airflow is great and has multiple entry and exit points, fan filters and flexibility for varied placement and sizes of fan is great. You bring that altogether that out with all the connections you would want in an enthusiast chassis and this chassis
Some of the features and benefits of the CM STORM TROOPER.
[qd_list]
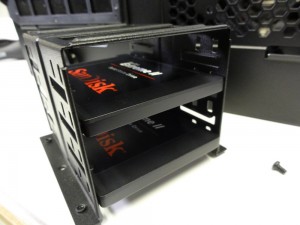
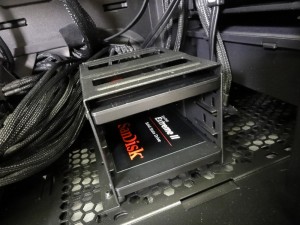
- A full tower chassis offering a large amount of internal space for easy placement and installation of components. In addition offering two 90 degree rotatable 4-in-3 HDD bays/modules.
- A soft touch rubber painted finished with a handle. Allowing you to easily lift and move the system.
- An integrated storage box, allowing quick and easy access to a safe and secure location for all included screws and small misc items.
- Multiple removable dust filters at the top and bottom of the chassis
- An integrated fan controller to aide fan control functionality should the on board connectivity be fully utilized.
- A convenient external 2.5″ HDD/SSD docking slot
- Generally toolless design allowing for little more than a screw driver for the majority of installation tasks.
- Honeycomb mesh front panel design allowing for great intake airflow throughout the entirety of the chassis. In addition the inclusion of two 120MM front intake fans.
- Extensive cable routing cutouts along with cable tie points.
[/qd_list]
Starting The Build, Mounting The Hardware –
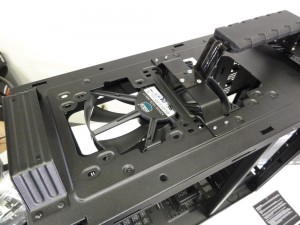
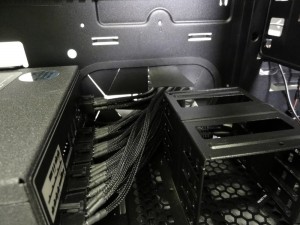
The CPU and memory have been installed, the external post test has also been completed The UEFI has also been updated or “flashed” to the latest build. So far everything has gone smoothly. Next up we are going to mount the board into the chassis and install and mount the Seidon 240M. Overall this is a pretty straightforward process, all that is initially needed is removal of the top cover / handle. From there unscrew the top mounted fan and lastly screw in the radiator to the 120MM fan mounting points. I placed the Seidon and its fans in a intake air flow configuration to ensure the VRM assembly receives additional airflow helping to improve stability while overclocking especially at higher clock speeds and with heavy loading. Last up we have installation of our 1300 WATT beast of a power supply the Silent Pro Hybrid 1300 WATT PSU. The fully modular nature was of great benefit as it allow for the use of just the cables needed this will pay dividends when it comes to cable routing and tidying up the build.
Taking A Trip To MARS, Installing MARS GTX760 –
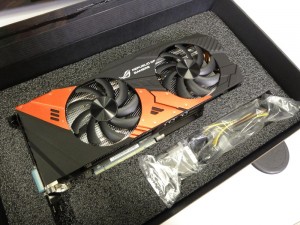
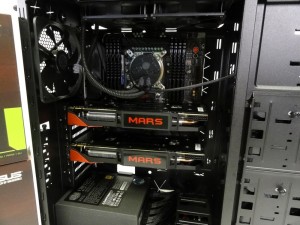
Next up we have the ever critical installation of the GPU. There are some days when you feel like you are really lucky. Getting to install two MARS 760 cards in SLI was one of them. These graphics card are really something else, the overall design is clean and simple but maintains an aggressive styling that aligns and represents its ROG heritage well. It was also impressive to see the so many premium touches, whether it be the soft touch finish or the metal back plate. The backplate not only looks great but also aides in thermal dissipation while improving stability and adding rigidity to the card. Topping all of this off you have a performance oriented design that features a direct contact copper heatpipe heatsink assembly. In addition to the impressive heatsink assembly you have two carefully tuned 9mm fans featuring a dust proof fan design giving you great thermal performance. The dust proof fan design is a great value point though, implementing a double sealed internal hub assembly which ensures superior protection to the internal hub assembly protecting it from dust, debris or dander. In the end it does a great if not noticed job of helping to extend the operating lifespan of the fans and ensure a more consistent cooling experience. Last but not least you have two highly binned GTX 760 GPUs on a fully non reference PCB powered by the Digi+VRM featuring Super Alloy power components ( mosfets, chokes, capacitors ). This card not only looks great but performs great. In line with all great muscle oriented products it also packs a serious punch in terms of performance and quality.
SSD’s, HDD’S, ODD – Winding Down and Installing Storage
So we are nearing wrapping up this build and need to put in a crucial component, the storage devices. Whether it be an SSD or HDD storage plays a critical role in your systems usage experience especially in regards to response. Possibly no other component influences your day in and day out usage whether it be installing applications, opening files, gaming , browsing or any of the other activities you perform on a system more so than your storage array. With this in mind I focused on putting two of the fastest SSDs on the market in RAID O as our primary storage array. Specifically the SanDisk Extreme II SSDs are storage beasts. with carefully tuned firmware and cutting edge SATA controller these SSDS rock and roll in all the right ways. Whether it be in-compressible data or compressible data these drives will offer you impressive and consistent performance across all your workloads. Even more importantly the validation offered by SanDisk and its leading RD team helps to ensure outstanding reliability, compatibility and overall interoprability. These points cannot be overstated or undervalued. Validation matters. We went with 480GB drives to ensure we have more than enough space for the huge PC titles out right now. With games now coming in consistently at 15 to 25GB if not greater we need space for everything including the OS, hibernation file, commonly used applications, system restore, recycle bin allocation and general desktop files that are consistently referenced or created.
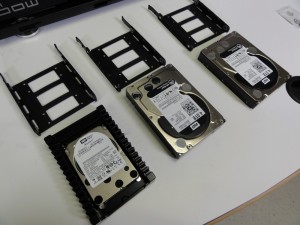
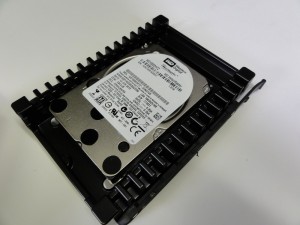
With that in mind we also need to ensure we have a system that ensures reliability and redundancy and flexibility. As such, we have also integrated HDD solutions including a 1TB HDD Western Digital VelociRaptor and 2 4TB Western Digital Black hard drives. This allows us to have a high performance 1TB solution to back up our approximate 1TB SSD RAID O array. In addition we extend our storage capacity in a way only mechanical storage can by selecting 2 high performance and ultra high capacity 4TB WB Black series hard drives. Not only do these drives feature a 5 year warranty and highest performance for a mechanical HD but they afford us the storage flexibility of having all kinds of files that may not always be frequently accessed. Keeping in the theme of redundancy and security we have a second Western Digital Black 4TB HD for back up of our local storage drive in the event a failure occurs. Rounding out our storage considerations there are some great technical designs featured in these drives. I have noted them below to give you some insight in why we selected the Western Digital Black HD’s.
Some of the features and benefits of the Western Digital Black Series Hard Drives.
[qd_list]
- WD Black hard drives feature Vibration Control Technology (VCT) which allows the disks inside the drive to adapt to any mounting problems or vibration conditions that are inside your case, resulting in increased data accuracy, performance and reliability over time. Put simply, this means you can game harder, faster and longer.
- WD Black is also equipped with StableTrac Technology, which secures the motor shaft inside the drive at both ends to help reduce additional system-induced vibrations. StableTrac confidently stabilizes the platters inside, resulting in more accurate tracking in a particular sector during read and write operations and delivers increased performance.
- WD Black features a new High Resolution Controller (HRC) with an improved architectural design, resulting in increased data precision across the hard drive. Th
- The new generation of WD Black hard drives is equipped with Corruption Protection Technology (CPT), which helps to protect and limit the potential problem of data loss during power failure or power loss to the hard drive.
- WD Black features a dual core processor that offers twice the processing power to maximize drive performance. Adding additional value, WD’s Dynamic Cache Technology increases performance by improving caching algorithms in real time and optimizing the cache allocation between reads and writes. This results in the drive automatically allocating more cache for read data, which reduces data congestion and increases overall performance.
[/qd_list]
Finishing Touches – It’s The Little Things
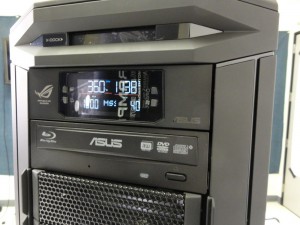
At this point you have seen this all come together and hopefully got some insight into why I decided on the parts I used for this build. Towards the end it is the little things that matter making sure you take the time to layout cables carefully and route them optimally. Ensuring that you considered different types of airflow configurations and setup your system accordingly. Looking at what we have left there are few points including installing our optical drive when brings us the joy of CD, DVD and BluRay playback. In addition the OC Panel, an awesome 5.25 bay front panel accessory included with the RIVBE. This bad body lets up adjust our CPU fan speeds, execute a simple one touch overclock as well as provide a continuous updated realtime readout of important information like your CPU temperature. As we are focusing on a system first and foremost designed for everyday usage and gaming we are using the OC Panel not in the handheld configuration but instead in the mounted one. Lastly we have one of the hardest parts of any system and that is taking care of the cable routing and tidying it all up. While it is not easy it is something you should be planning and working on from the onset of installing your first item in your chassis. Few things bring you a smile like seeing a cleanly routed and cabled system. From here it will be time to install our SLI ribbon and begin the OS installation process and then like any good enthusiast overclock it like crazy and install steam for some late night celebratory gaming.

