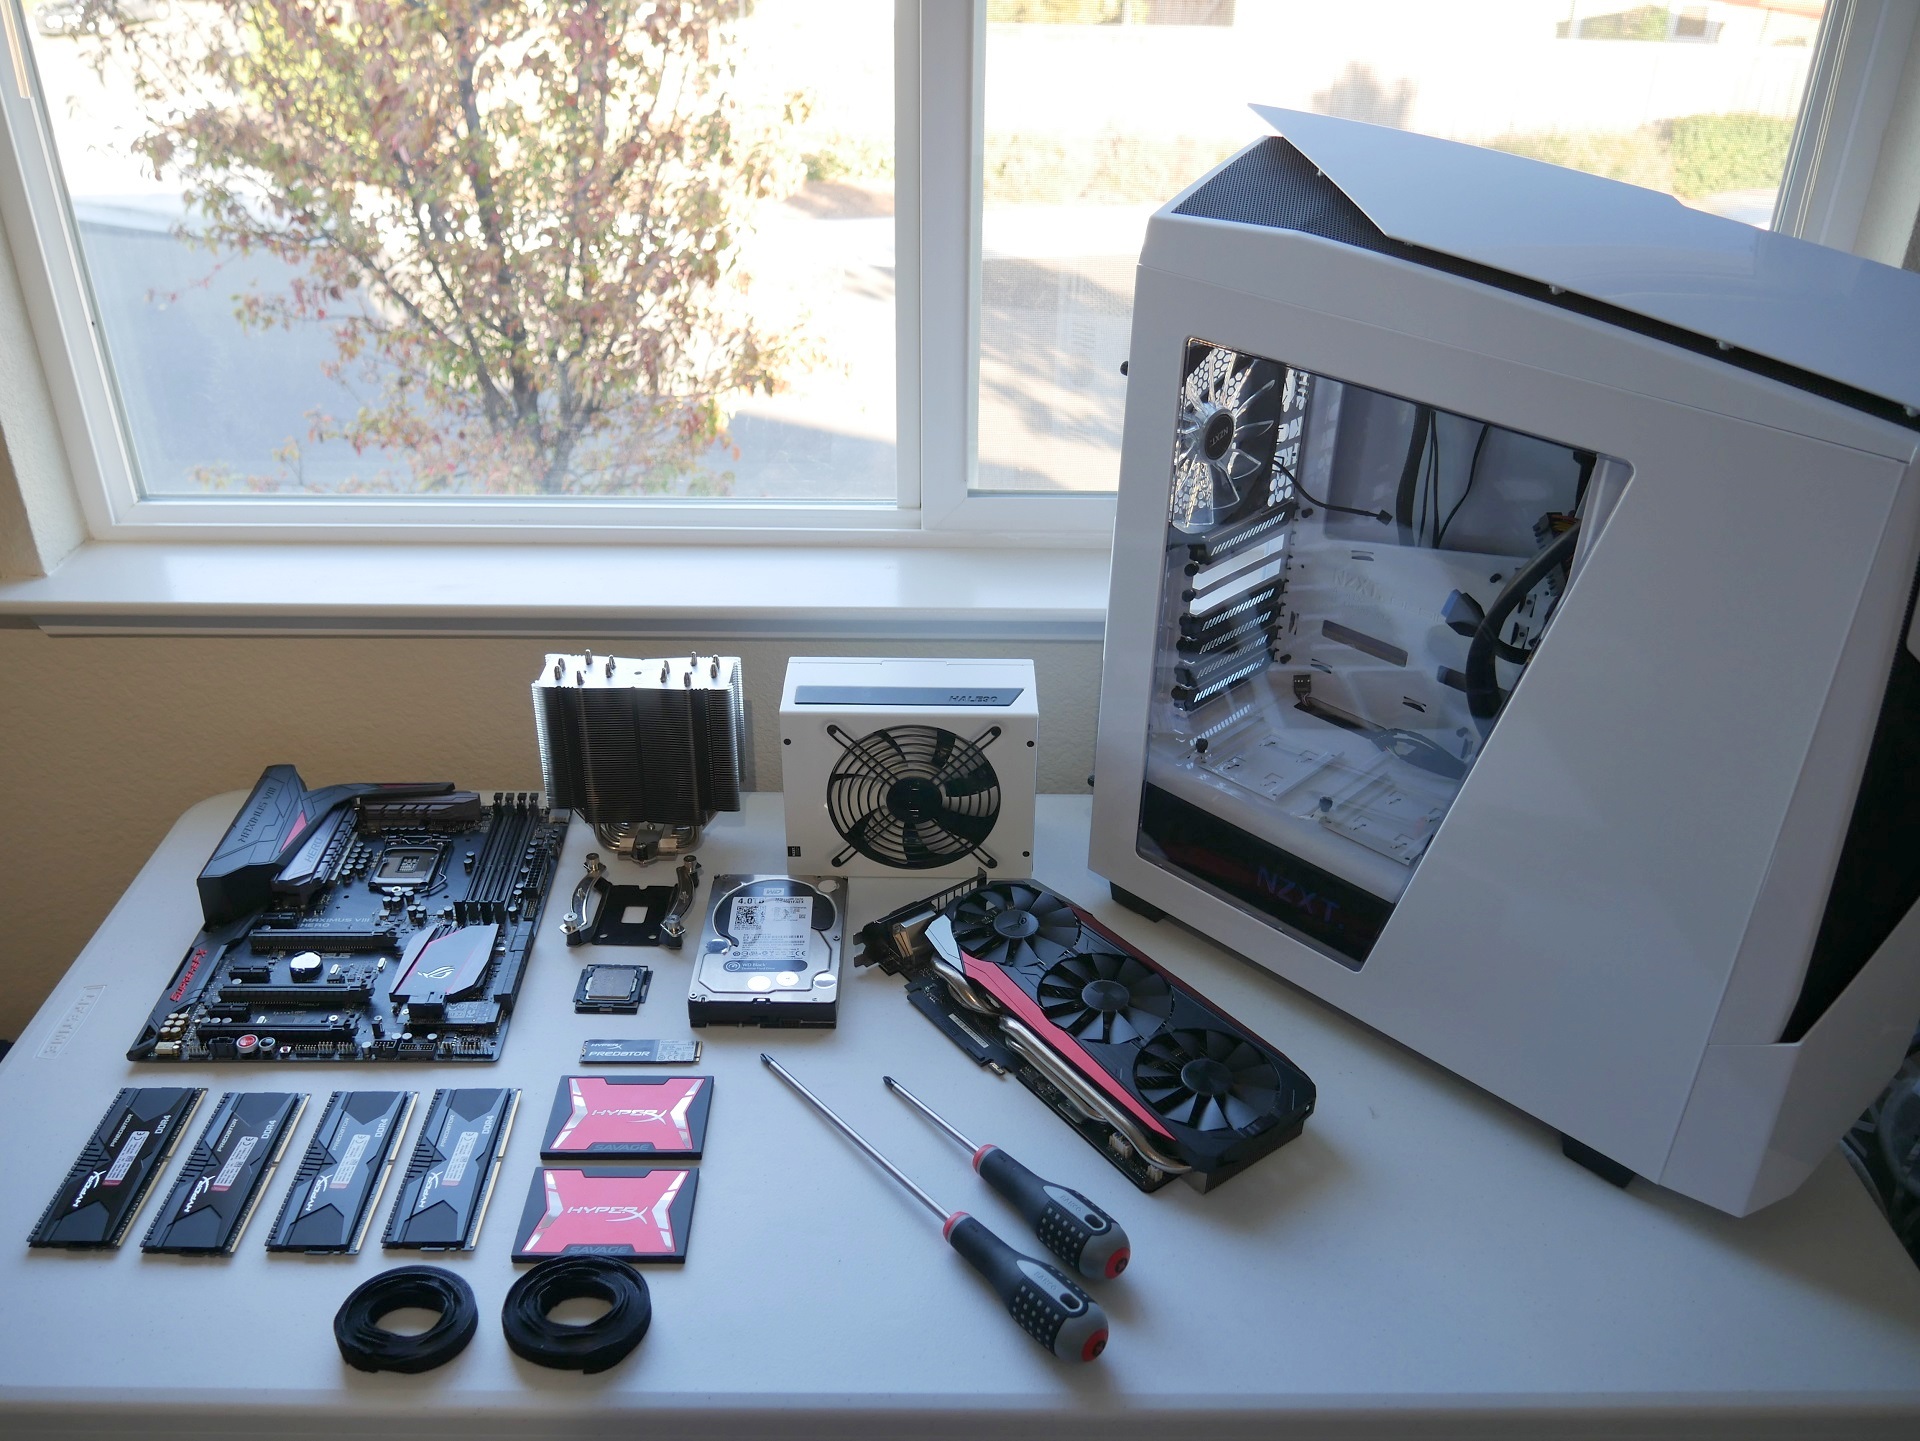
When building a PC whether it is the first time or 10th time there is a lot to consider. Some consideration points or do’s & dont’s come to mind quickly but others are not so immediate or clear but are equally as important to keep in mind during the building process. To try to make the building process as easy as possible here at PCDIY I have provide detailed guides and checklists to help you along the PCDIY build experience. The first in our checklist series is 10 things you should & should not do when building a PC. While there will be more than 10 items covered in this post we will put the focus on the most important. Additionally I look forward to your feedback and experiences on what should be added to our list. So how many of these do you do or do not do?
1. Do not touch the contacts or interconnects or pads on ( RAM/DIMM’s, GPU / Graphic’s Card’s, CPU / Processor )
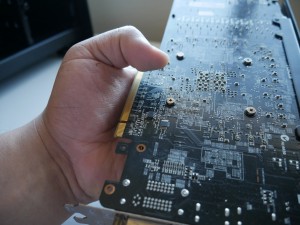
While this may seem like a common sense tip I have seen novice and seasoned builder make the mistake of carelessly handling memory modules ( DIMM’s ), graphics cards ( GPU’s ) , processors ( CPU’s ) and more. Your hands have oils, water / moisture, various foreign debris & matter, dander and much more ( like lotions or other topical creams ). All this and more can dirty the clean contact area causing a number of issues ranging from initialization failure, memory not being registered correctly or fully to system instability.
Below are some examples of how NOT to handle your components
How to prevent it and handling recommendations
Be cautious when holding key components that have sensitive contact areas. If you want to be extra cautious you can use tech grade ESD gloves. I recommend ESD Nitrile gloves that have microtextured fingertips that provide excellent grip on all surfaces. 100% nitrile gloves contain no natural rubber or silicone and meet stringent requirements for particles and extractables. In regards to handling try not to directly handle PCB or contact points. For a graphics card try to handle it from the corners or the heatsink. For a motherboard use the corners / sides. If you do not want to use full gloves you can also consider finger ESD cods. If you use your bare hands just have common sense and keep in mind when the contacts are
How to fix it if you do touch the contact, interconnect or pad?
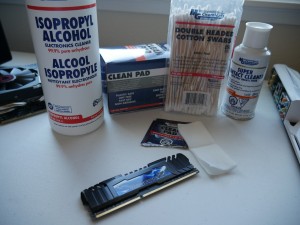
The best way would be to use a special contact cleaner from companies like MG Chemicals or using tech grade alcohol again from companies like MG Chemicals. Additionally you want to use a lint free or tech grade swab or cloth to clean the area you can also get this from MG chemicals. Users that what to take it to the next level can use specialized contact cleaners designed for PCB boards and sensitive electronics or areas with gold interconnects.
2. Not being concerned or cautious about ESD.
Static discharge is reality when handling sensitive electronic components. While they are a multitude of factors that affect how and why you may have a discharge including humidity, temperature, movement, nearby insulators there is a lot you can to make sure your expensive hardware is not damaged or at least reduce the likelihood of ESD occurring.
What to consider regarding ESD and how to help prevent it or mitigate it
- Give yourself a clean open area
- Minimize movement and if possible stand when building. Have minimal clothing and minimize layers. I would also recommend you remove jewelry. Ideally do not wear synthetic fibers / materials and wool.
- Keep all items within reach in your open area ( reducing movement ).
- Use a ESD rated surface if possible along with ESD rated tools. You may also want to consider using ESD gloves or ESD finger cods.
- Ground yourself via grounding strap or by touching an unpainted metal surface that is grounded ( like your power supply ). If you are not continually grounded make sure to keep re grounding yourself. If you are using a grounding strap ensure it is tight and always maintains contact with your wrist or ankle.
- Remove insulators from your immediate environment ( plastic storage bins, plastic water bottles etc ) again focus on giving yourself a clean open space to work with.
Additional details regarding environment and how it affects your chances for ESD
If you have an expensive build ( more than 850 dollars I recommend the investment in ESD surface mat and ESD screwdriver ). While some may consider it excessive consider you have made a sizable investment and this is minimal investment in helping to preserve the lifespan / functionality of your components. Additionally for future builds or upgrades these will come in handy. For builds exceeding $1200 dollars especially in just the core products ( CPU, Motherboard, GPU and DRAM ) I strongly recommend investing in a ESD surface and ESD screwdriver. You can get disposable ESD mats for less than 10 dollars so it very reasonable.
Depending on your physical location, geography, temperature and surrounding objects you can be significantly more likely to experience ESD. Hot, humid and carpeted environments are much more prone to ESD compared to cool, not humid and non carpeted environments. This is due to the fact static electricity is caused by an imbalance of electrons on a surface. Atoms normally contain an equal number of protons and electrons . When there is a difference this can cause a discharge when equalizing. This is due to the action of two materials / surfaces in motion making contact. Once contact is made electrons jump from one to the other to equalize and resolve the imbalance. Movement and friction also cause transfer of these causing further imbalances when making contact with other surfaces.
So what do temperature and humidity have to do with static electricity? Moisture makes the air more conductive, so it can absorb and more evenly distribute excess charges. On days where the humidity is high objects don’t hold static charges well. As for the temperature sudden or consistent changes can generate a temporary voltage. This is known as the pyroelectric effect.
3. Do not over torque / over tighten screws
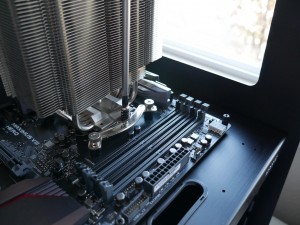
This is a mistake happens a lot especially with CPU coolers. Many users think the tighter the better. Overall the goal is to ensure a solid secure bond, this can generally be achieved with a little more than finger tight. Exceeding this can cause serious issues. Why? Strain, torsion and unneeded pin / pad contact. Consider that when mounting the cooling solution you are have the CPU which has a pad which is being push down against a socket with pins. Excessive pressure can cause memory channels to drop and even cause instability when pad makes contact with the socket. This is due to the fact the memory controller is in the CPU and needs to registered the pins from the motherboard socket to registered and initialize all the DIMMS physically installed. A little known fact is Intel even has recommended guidelines for socket pressure. This is partly why Intel used push pins on the reference coolers as it ensured consistent pressure without over torque. More professional sockets and like X79 and X99 users server grade mounting options which make it almost impossible to over torque.
What to do if you have over tighten the retention mechanism?
Simply loosen the screws. If you are in the process of screwing in the retention plate or retention mechanism consider using a ratcheting screwdriver like those from BAHCO or WIHA. These type of screw drivers can allow you to be more precise at how much you torque you are applying.
4. Not giving yourself enough room to build
This is pretty important I have seen everything from bent pins to hardware being dropped and broken to a myriad of other unfortunate occurrences due to not having a clean, stable, and large enough surface to build on. Having an open, clean and stable surface will make the building process go much easier with a better sense of clarity than if everything is crunched and crammed together on the corner of a table.
General recommendations
a four ( 4 ) legged table that measures at least 4 feet length x 2 free width ( or depth ) is ideal, of course the bigger the better. Additionally make sure it is clean and do not have drinks in the immediate surrounding area. If you must have something then use something with spill proof drinking spout. I personally use a Hydro Flask with a fold down spout that is great as even if it falls over I do not run the risk of spilling liquid / water over my hardware
If you want to take it to the next level get yourself a ESD mat to place onto your working area.
5. Not using a magnetic tray when building
This is a big one that I surprised not more users think about when building for as little as 3 dollars to 13 dollars you can get one to four magnetic trays in different colors that will make your build easier and quicker. PC’s have a wide range of screws that range from small to smaller to insanely small. When considering how small they are it can be easy to jostle them by bumping a table or setting down the chassis and have them fall to the ground and roll away or even worse fall onto or into carpet. Using a magnetic tray allows you to easily sort your screws specific to your CPU cooler, chassis, SSDs, etc. It also allows you to easily have an order to what you are working on ( especially if you use ) colored magnetic trays.
6. *Not having the right tools or a magnetic screwdriver
I put an asterisk on this as it is more important to use a quality screwdriver than having a screwdriver of poor quality that is magnetic. Most of my screwdrivers are non magnetic but high quality with ergonomic non slip handles, precision tips and feature a high quality metal alloy composition. If needed I can use a magnetizer. Having a quality screwdriver in the varying sizes and lengths helps to ensure accuracy, consistency equal / balanced torque and most importantly minimizing the slippage & striping of a screw. Equally as important having varying handle / shaft lengths help to ensure you can more easily navigate and screw in screws in tighter areas. This is especially true for top mount screws for a motherboard where clearance is limited and the top area of chassis cavity has a lot of components minimizing how much of your hand or the top portion of a screw driver handle will fit.
Recommended screwdrivers for PC building
BAHCO, WIHA, WERA tools
7. Over applying thermal compound
This one happens a lot but it can be tricky depending on the compound you use and the heatsink base. In addition it is also influenced by how much you may torque down the heat sink assembly. Over applying can cause a number of issues including poor temperature performance as well as worst case CPU & memory initialization issues if the compound has run into the crevices of the CPU socket and make contacts with pins or the pad of the CPU.
Recommendations on how to apply thermal compound
Starting out one recommendation is to warm the compound up by rubbing it in between your hands or fingers or running it under hot water. This helps to make it more fluid and easy to work with. From there apply a small amount ( it is always easier to add than take away ). Size wise look for approximately a large grain of rice. From there push down on the base of your heatsink assembly and hold it down for around 30 seconds. From there twist off and pull away and see how much is spread across the IHS and the base of the heatsink, if needed apply a small additional amount to complete coverage. A better option is using my favorite compound spreading tool which are finger cods. They are easy to work with and allow for precise movement and spreading regards of the IHS type. Additionally if using the thermal compound for the first time and in a syringe type dispenser consider testing how much comes out first externally on a piece of paper as opposed to having too much come out the first time. If you use a closed loop water cooler you are lucky as they come pre applied with thermal compound. No need to remove that compound as keep in mind these compounds are what are used to produce the advertised metric of the cooling solution.
8. Mixing memory kits
This is one that is not normally thought about but can cause a number of issues, especially with upgrade builders. It is important to remember memory kits are rated for a specific frequency, timings and voltage. Going from 2 DIMMS to 4 DIMMS even if the same DIMMS ( at least based on model number ) can cause issues as the timings for a 4 DIMM kit may be different from a 2 DIMM kit. Also memory vendors change memory chip / suppliers overtime so you can have a memory module that used Hynix and the next kit could use Samsung ( even though both are the same model number ). All this and more can lead to instability, issues with XMP profile initialization and more. As such be cautious when mixing memory kits. Generally you want to try to ensure you have complete matched kits. If not possible or you want to mix kits be prepared as it may requiring some manual tuning.
9. Waste a fan header to power a pump
ASUS motherboards feature advanced fan headers offering robust control and flexibility. To use them to power a pump is a waste. With most pumps just needing DC power but not control there is a better option.
Recommendation on how to power a pump
A better option is to use a fan header to molex adapter and power the pump directly from the PSU. This helps to save a header for an additional fan that can be directly controlled by the motherboard or if you use newer ASUS boards allows you to have multiple fans connected by using the header in PWM output mode and using a PWM splitter cable to control multiple fans.
10. Forgetting to install the I/O shield
In a recent survey we found more than 50% of builders failed to install their I/O shield. While a small item it is important to help minimize shorting issues with insertion of USB and back I/O devices and it can also aid in ESD and EMI related issues. As you cannot install the I/O shield after you install the motherboard make sure you have it in hand and reference our Build a PC checklist to ensure you account for it when installing all your MANDATORY / REQUIRED components.
Runner ups / honorable mentions
11. Not checking if all the motherboard standoffs are installed in your chassis prior to motherboard installation
This is a pretty big one and almost made our top ten. In fact missing this one can cause serious damage to your hardware and cause shorting issue which can cause your system to not power on. All chassis have internal standoff points where a small hex screw will affix and then allow you to mount the motherboard on top of and secure firmly into place inside the central cavity of the chassis. While many chassis come with them pre-installed some do not. Additionally some motherboard have different ATX layouts requiring less or more stand offs or stand offs in different places.
Recommendations
Count the standoff points on your motherboard. From there check internally in the central cavity of the chassis verifying if you have the correct number of stands offs in place and in the correct location. If they are missing or misaligned screw in the stand offs and adjustment them accordingly.
12. Assume auto rules will provide poor results
Many tweakers, tuners and overclockers make assumptions as to what they think need to be modified within the UEFI. In most cases when overclocking very little needs to be defined outside of enabling XMP, your multiplier, voltage type and the voltage target. If using our Auto Tuning technology then nothing needs to be modified. For users who are manually tuning once you have defined the previously noted parameters I strongly recommended in trusting the auto rules programmed into the board to adjust parameters such as VRM operation including phase response and loading policies as well as aspects like OCP. These type of parameters should ideally be left to auto values as they help to ensure superior stability. In fact we have found cases where users power configurations are less efficient or cause instability.
13. Failing to read the manual
The number of questions I get everyday is vast. Surprisingly I would say at least 50% would be answered most quickly and with fairly good clarity by reading the manual. There are maybe aspects to building a PC whether it is recommendations, information on usability and functionality or set up information all contained with manuals. As such you should make it a point to review and reference your manual. It will always help you in the long run and never hurt you.
14. Using zip ties instead of velcro or reusable straps
While many builders use zip ties for cable management I prefer not to use them. They are made of plastic and are generally single use, if you need to reposition or manage additional cables this is difficult this is generally not possible. Doing any type of cable management after the fact or removal of the zip tie generally requires you to snip it throw it away and then use another. Due to their plastic composition and the small snipping size zip ties are much more likely to end up in landfills, waterways and our oceans. A better option is to consider using Velcro or similar wraps. They come in a wide variety of colors, widths and lengths and can be undone and redone easily. I have also found find that due to their width being greater than a zip tie they handle multiple cables better while also further compressing cables down compared to zip ties which can pinch in on cables.
So that wraps up our initial list. We hope this to be a living document and will update it with more pictures and do’s and don’t as they come to mind or we get feedback from the community.
We will be offering the downloadable checklist shortly for those looking to have a downloadable document to assist in PC building. Please test the link below and see if it works for you. ( This is not the checklist but a test of the auto generation function )
[frontend-checklist name=”PCDIY Build a PC Checklist” type=”pdf” title=”My Checklist” linktext=”To the Checklist”]

