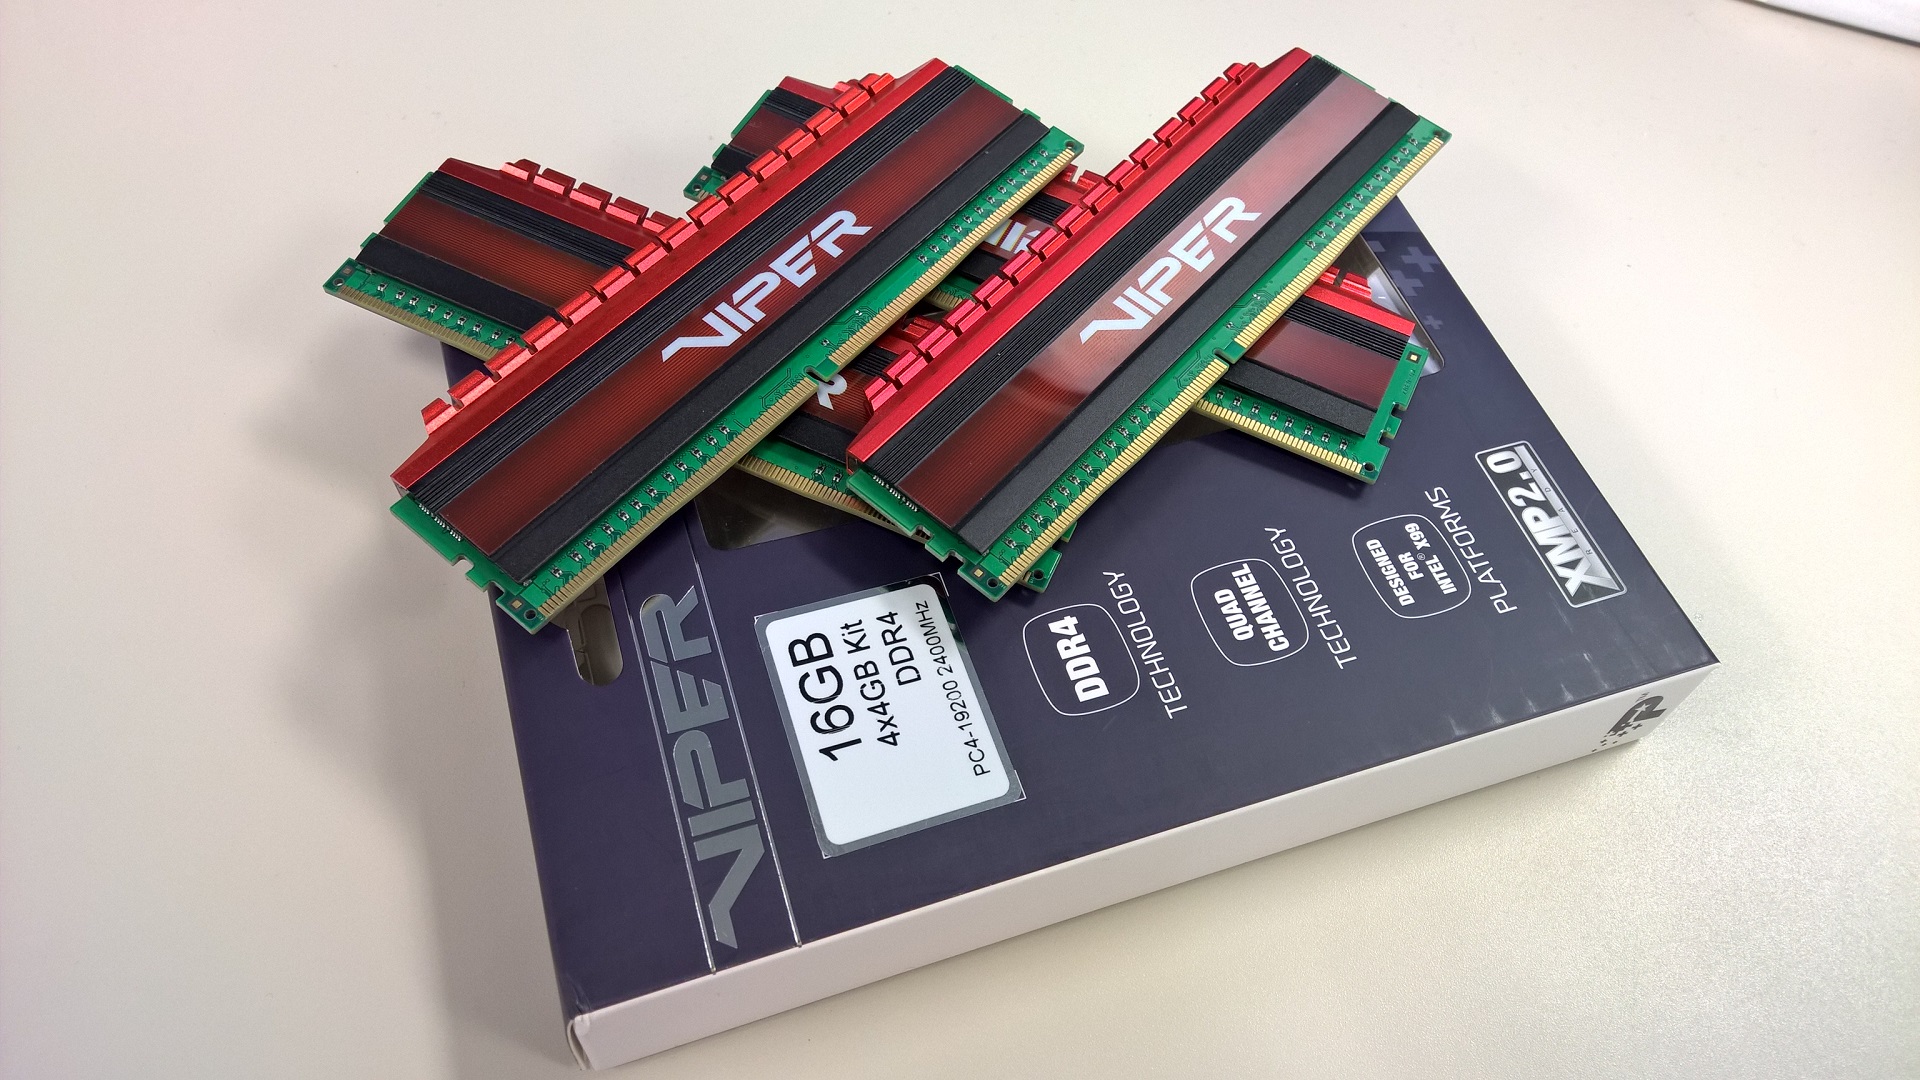
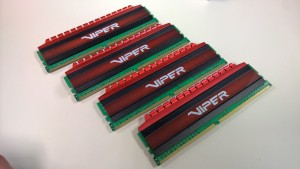
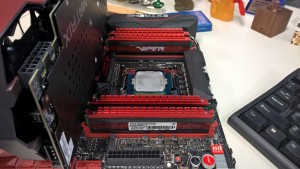
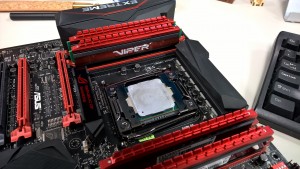
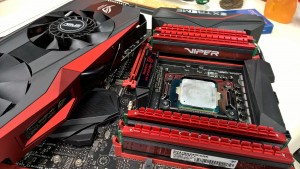
Patriot is celebrating a 30th anniversary and the same time has recently released a number of new products that we will be taking at look at here in the PCDIY labs. X99 builds have been progressing in their popularity due to the rich features and functionality as well as performance and flexibility the platform offers. One area users always wondering about is memory and what memory is recommend in regards to stability, compatibility and overall interoperability. With this in mind we decided to reach out to Patriot and get two samples of target DDR4 memory that most builders would be considering DDR4 2400MHz and DDR4 3000MHz. We put these DIMMS through their paces check for basic interoperability and compatibility and XMP functionality as well pushed these DIMMS to see how much was in the tank when it came to overclocking. First up on the bench we will be looking at the 2400MHz quad channel kit PV416G240C5QK.
First up let’s get the general specifications out of the way.
Product Information & Specifications :
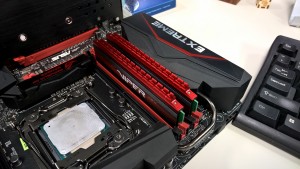
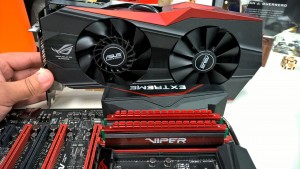
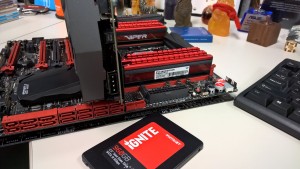
A Closer Look @ the DIMMs –
Hands on impressions look and feel –
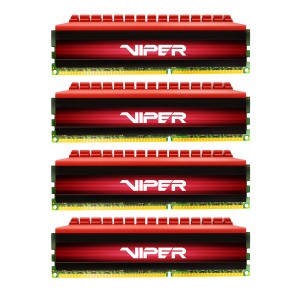
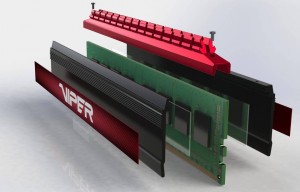
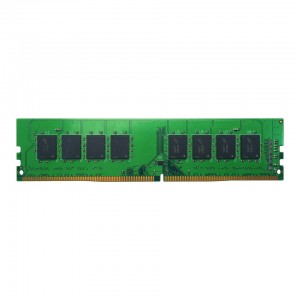
Overall the DIMMs look and feel great. The design is slightly aggressive but offers solid functionality. The top of the heatsink is a separate piece and makes direct contact with the side heat spreaders. The fins add some points of diffusion while adding a cool visual feel. I would like like the heat sink assembly to be an entire piece but this would be more expensive to produce. Additionally this design offers a benefit of overall better fit and contact.The anodized red looks great and will compliment ROG series motherboards as well as black motherboards like the X99-E WS. The VIPER logo is clean and adds some nice branding. If I could have it the way I want it would have been great to see VIPER imprinted / silk screened directly onto the metal in white. I would have also like to have seen the side logo be ideally in metal like the top finned heatsink. I think that would have really popped but again would have most likely increased cost.
Putting the DIMMs to the test XMP functionality and overall compatibility & interoperability –
For many users DRAM compatibility is a big factor in the motherboard they buy. Especially when looking at a premium platform you have an expectation for things to work smoothly. ASUS spends more time than any other motherboard vendor when it comes to optimization and fine tuning of DRAM. A great motherboard needs to have everything from an optimally laid out topology and optimal trace layout along with carefully configured and tuned MRC and UEFI to ensure a great memory experience. As you move into overclocking these design become more important along with the quality of auto rule adjustment and hardware design implementations that are needed to ensure stability at aggressive DRAM frequencies.
As part of our hands on testing we go through a number of steps
- General post and boot at default SPD values.
- Stress test 1 hour under Aida64 & ROG Real Bench to verify stability
If the system passes this I move to testing the XMP profile. Keep in mind that while the DIMMs are validated at their rated frequency, timing and voltages XMP does not ensure that your system will be stable running at those defined DRAM values. This is due to the IMC ( the CPU’s integrated memory controller ) it has a margin on what DRAM dividers it can reach as well as hold. As you also overclock the CPU it adds more stress to the CPU potentially limiting DRAM frequency. This is more of an issue as you begin to reach aggressive DRAM frequencies like 2666, 2800 and 3000. Once you exceed 2800 the margin drops considerably in regards to the number of CPUs that can hold this frequency. ASUS range of X99 boards have been designed from the ground up to offer not only great compatibility but outstanding DRAM overclocking composed through a range of hardware and firmware design implementations.
Assuming that the motherboard complete post and boots with the XMP value enabled we continue forward to stress test the memory at the XMP rated values.
For the XMP rated value we push the testing to even longer periods
- General POST and boot
- Stress test for 24 hours on one X99 motherboard via Aida64
- Stress test of 4 hours via ROG Real bench
- To test wide compatibility and interoperability we strive to test at least 3 motherboards
XMP 2.0 rated values – 2400MHz
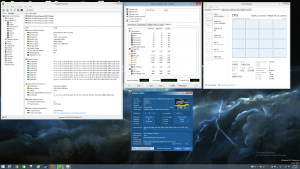
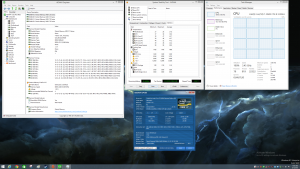
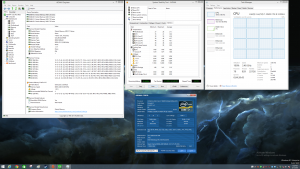
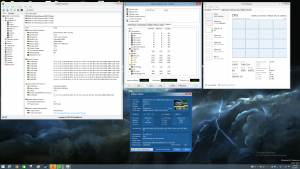
We tested 5 motherboards – The X99-A, X99-DELUXE, X99-E WS, X99 SABERTOOTH and the RAMPAGE V EXTREME
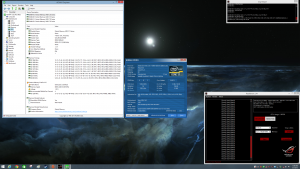
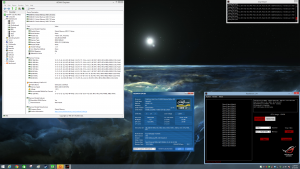
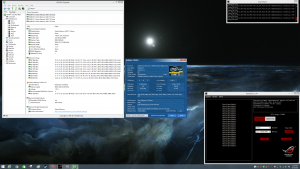
First we have the RAMPAGE V EXTREME which ran without issues for a continuous 24 hours with the XMP profile enabled.
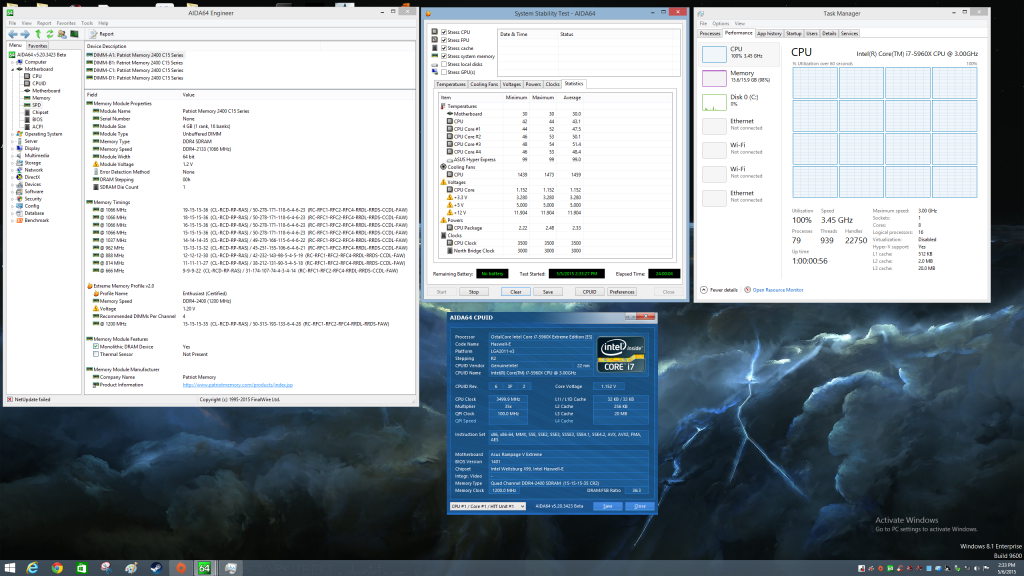
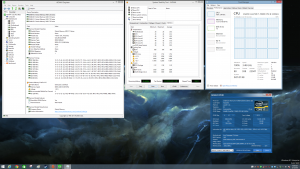
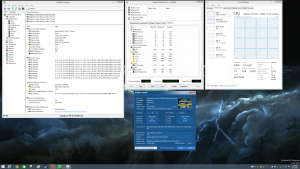
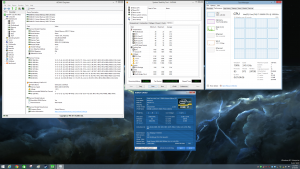
Next up we have each of the boards running the Aida64 stability test which places the CPU and RAM ( memory ) under 100% load. This stability test ran without issues for a continuous 4 hours on each board.
While Aida64 is extremely stressful we like to use ROG Real Bench to push things over the edge and also utilize real world applications in a stressful fashion. For this test we utilize the stress test option and define the density of our memory configuration ( in our case it was 16GB ). As there is a hash that has to be verified it is very good at not only putting varying extensive loads but helping to ensure stability and reliability. If you also run it at stock SPD values it gives you a way to see the improvement offered in increasing the DRAM frequency.
What about 8 DIMMs?
We were lucky enough to get additional DIMM support for Patriot to also test 8 DIMM configurations but need to complete these tests first. This post will be updated when we have completed testing. Initially testing though has already completed without issues on two motherboards and we feel confident all 5 boards will complete post. boot and full stability testing with the XMP profile enabled.
More MHz! Overclocking and tightening timings
Now that we have passed all initial tests in regards to the advertised XMP values we of course have to kick up a notch and add the Jalapenos! For those of you not in the know the Jalapenos are slang for overclocking. Are experience with DDR4 as a whole as been pretty positive in offering some fairly decent margins in frequency increase. Let’s take a look at how much we were able to push these modules.
*When enabling XMP the profile makes use of the 125 strap. This strap is effectively the bus clock and is linked to a range of DRAM dividers. This was done as the 125 strap was early on shown to offer superior stability for 2600 and greater frequencies for DDR4. As mothers have very good DRAM overclocking on both the default stock 100 strap and the 125 strap. It is important to keep in mind though different dividers are available only on certain straps.
Steps to take when attempt to increase the frequency of your memory
- Try higher memory divider with the same XMP values ( voltage and timings )
- If not successful increase the voltage in from the default 1.20 up .05 increments up to a maximum of 1.40
- If not successful in posting and booting and passing stability test with increased voltage modify the timings. Move the primary timings up 1 value. An example would be 15-15-15 is the XMP timing set consider increasing to 16-16-16. For the command rate it is ideal to not exceed 2 as moving to 3 will considerably affect performance of the DRAM.
- As a general recommendation we only modify the DRAM voltage and timings to make the OC process easy. The motherboard has auto rules that are adjusted automatically in addition to these manually modified values. For some users there are additional parameters that can be adjusted to help extend overclocking range but it is target more at extreme enthusiasts.
2600MHz
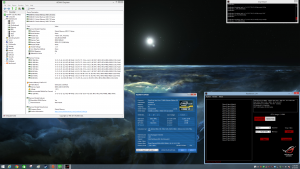
We were able to successfully get the VIPER 4 DIMMs to post and boot and pass both our Aida64 and ROG Real Bench stability testing without issues.
2666MHz
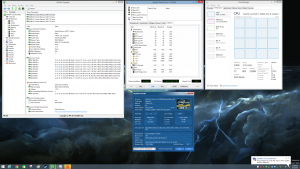
Moving up to 2666MHz we were able to keep the same increased timings used for 2600 ( 16-16-16-35 ). Again at this increased frequency we had no issues with the DIMMs passing POST and boot and completing both stability tests.
2750MHz
I was surprised we were able to reach 2666 with a minimal increase in voltage and slight increase in timings. Reaching towards 2750 I was even more surprised to be able to reach this frequency with fully stability. Again passing both Aida64 and RoG Real Bench. It did require an increase to our self imposed limit of 1.4vid for the memory but our testing has shown this is a generally safe level of voltage to apply to memory when overclocking. If the DIMMs will be under heavy constant loads at these frequencies I would begin to consider some sort of active airflow coming across the DIMMs to ensure the best stability.
Beyond 2750 we were not successful in further increases. It is a possibility had we manually used 1 BCLK intervals as opposed to the next divider increase which was 3000MHz we may have been able to further extend the maximum OC range of these DIMMs. While this was a possibility as a whole it represented a minimal return on performance and investment in time to justify tuning this way.
Next up we go the other way and focus on efficiency at the rated XMP frequency. For this we targeted keeping the 2400MHz frequency and modified the primary timings. Reduction of the timings helps to maximize DRAM efficiency and overall memory performance.
2400MHz CAS 14 (14-14-14-36-2)
Overall I was pretty happy at being able to drop all the primary timings and keep the same command rate. More importantly the DIMMs POSTed and booted without issue and complete both stability tests without issues.
2400MHz CAS 13 (13-13-13-36-2)
Beyond these stable timings we did not find stability even with further increases to voltage or some modification of the timings. We do feel some further tweaking could unlock a little more out of these DIMMs but overall both from an efficiency standpoint and general OC frequency standpoint these DIMMs should some impressive range. Furthermore they were stable with little more than some based adjustments to primary timings or addition of small increase of voltage. Equally as important the heatsink assembly did a great job at helping to keep the DIMMs cool. Lastly we have some performance numbers for users who are looking to leverage DDR4 as a RAM disk or RAM cache. Both options can offers some impressive improvements in performance as well as help to extend the lifespan of your systems SSDs.
ROG RAM Disk & RAM Cache
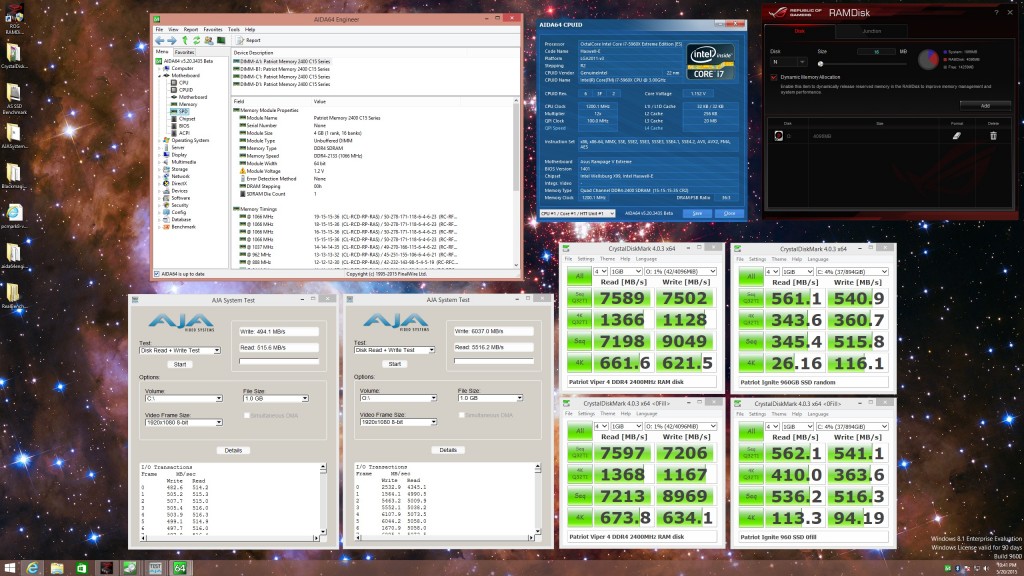
First up we decided to install and setup ROG RAM Disk this great utility currently comes with all ASUS ROG motherboards and offers gamers and general PC enthusiasts an easy way to leverage unused system memory in the form of a persistent storage volume. The memory density we tested was 16GB so we allocated 4GB for our testing. This is more than enough to install some key applications like your web browser.
We set up our RAM disk with the memory operating at its default XMP value of 2400MHz. Of course as you increase frequency you can increase performance as the effective bandwidth is increased in this respect these numbers are conservative but an order of magnitude faster than what even the fastest SSD or PCIe SSDs can offer.
Overall we can see something truly impressive numbers. In Crystal Disk we see peak performance in excess of 7.5 GB a second. Looking at 4K performance on a very solid Patriot Ignite SSD using a modern high performance Phison controller the increase from this SATA6G SSD to the RAM disk is approx 25x faster. Overall for users looking for the absolute fastest performance a RAM disk is the way to go.
General performance with PC Mark 8 & ROG Real Bench
We will be updating this portion of the post soon to provide some insight for those wondering about how performance is improved in this general system benchmark. Beyond that we are looking to define a general applications to show a benefits / increases in performance as you increase the DRAM bandwidth. If you look at the ROG Real Bench results they do offer insight into real world performance increases as the benchmarks used throughout the suite are actual real world applications.
The applications used are
GIMP (licensed under GPL)
Handbrake (licensed under GPL)
Blender (licensed under GPL)
7zip (licensed under LGPL)
VLC( (licensed under GPL)
Luxmark (licensed under GPL)
Wrap up and conclusion
Overall the experience has been great you cannot ask for more than stability, compatibility, overclock margin and great aesthetics. About the only area to improve upon are some of the aesthetics points I noted namely a black PCB. Beyond that if you are looking to pick up a quality pair of DDR 4 DIMMS then the VIPER 4 paired with an ASUS X99 motherboard will offer up a great experience.
If you want to pick these up you can get them from etailers like Newegg and Amazon
Newegg 32GB
Newegg 16GB
B&H 32GB
B&H 16GB
Amazon 32GB
AMAZON 16GB

