Like it or hate it, as the motherboard industry has evolved, the emphasis on design and aesthetics has become a greater factor. In part, this is a side effect of the PC becoming more of a luxury item; there’s a myriad of functional alternatives–tablets, laptops, phones, and consoles–that we can use for gaming and basic computing tasks. These devices are aesthetically pleasing and ergonomic, and most of them are designed to complement your living space. In contrast, PCs are often much larger, they can be challenging to build for first-time DIYers, and until recently, color-matching components has been difficult.
That’s why ASUS is striving to make it easier for users to customize the cosmetic appearance of their PC components. For example, ASUS motherboards with Aura lighting have RGB LEDs that allow users to tweak colors and effects to match other system hardware. We’re now producing motherboards like the Rampage V Edition 10, which has a neutral, monochromatic color scheme that looks great as-is and even better with the accent lighting that Aura provides. We’ve also created the ROG Certified program to work with vendors creating PC components that have a visual and functional synergy with ROG products.
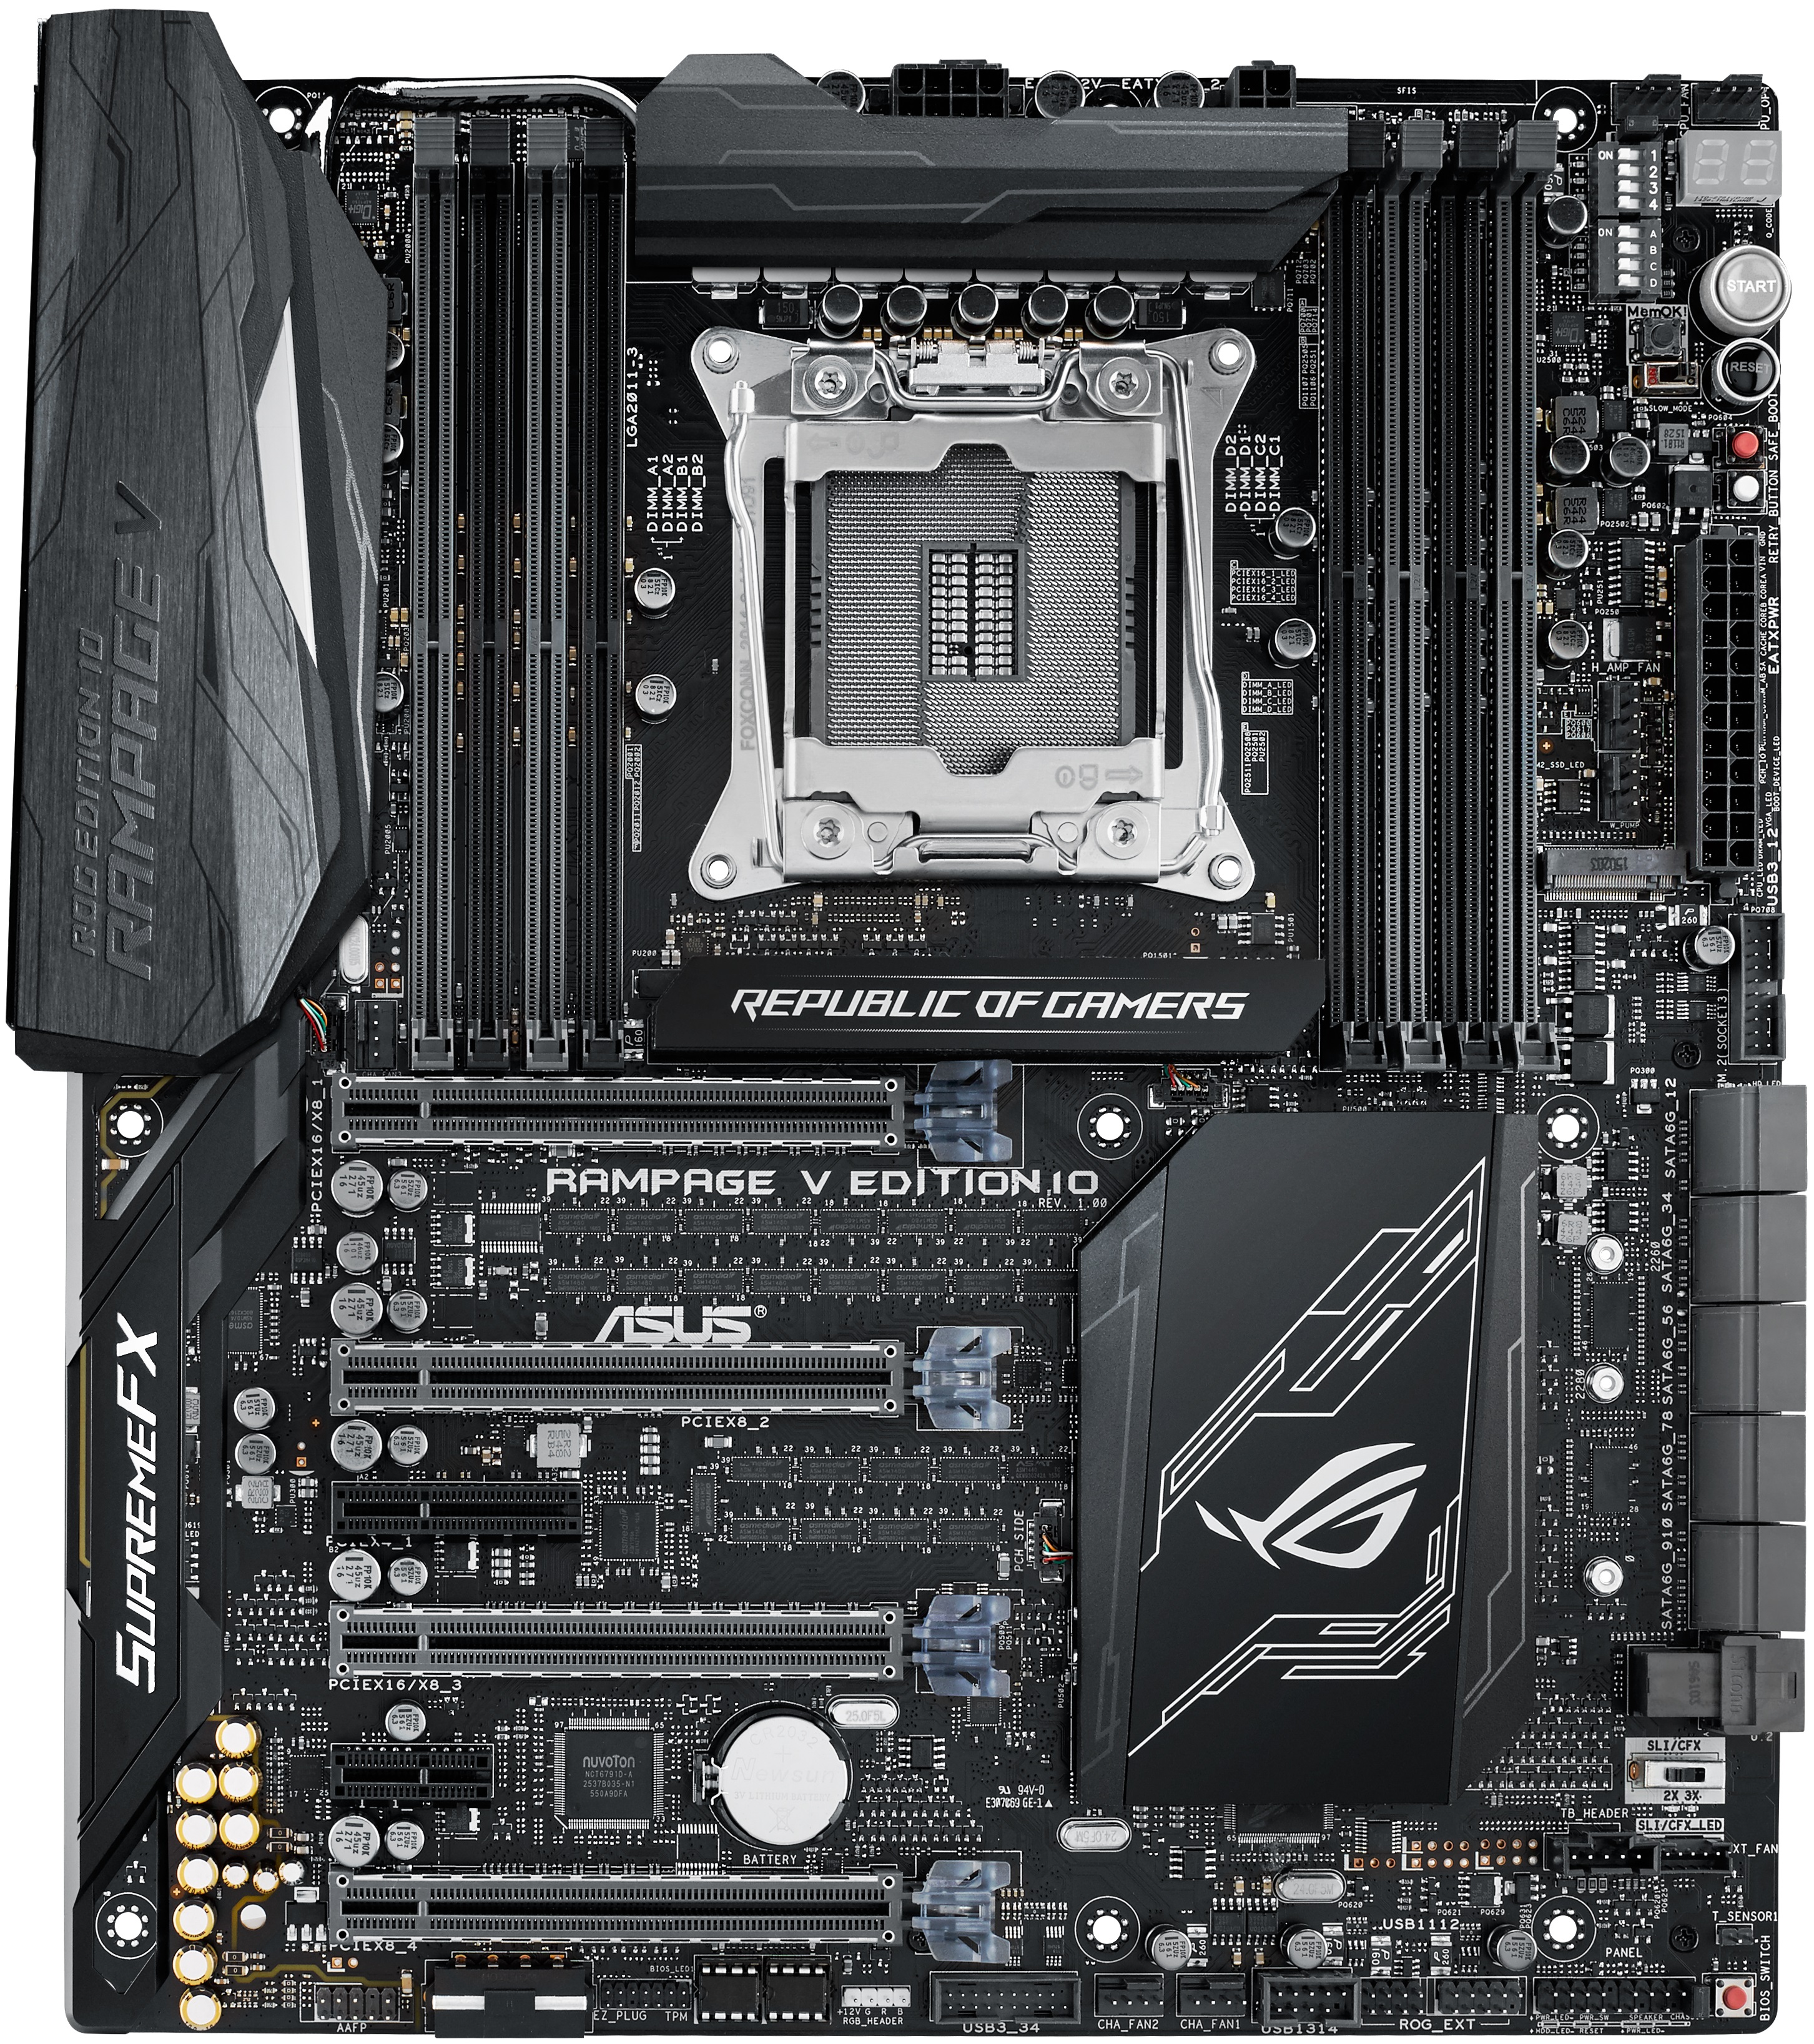 The Rampage V Edition 10
For the most part, the shift towards monochromatic themes and RGB lighting has been met with praise, more so by those of us who have been building PCs for a number of years, as we can recall where things were not that long ago.
The 3D-printable future
The flexibility that a neutral color scheme and RGB lighting provides is welcome because it gives consumers more control over how a system looks, but color is just one aspect of aesthetics. A component’s physical form is just as important. Therefore, providing users with options to modify the shape of their hardware should be the next milestone. That’s where advancements in 3D printing technology can help.
The advantage of 3D printing is that one-off designs and small-scale production don’t require the extortionate tooling fees associated with conventional manufacturing methods, opening up a host of possibilities for DIY enthusiasts. A level of competency with CAD software is required to develop things yourself, of course, but we can help by designing products to accept printed parts and by providing 3D source files that users can modify. With that in mind, we unveiled some conceptual 3D-printed parts for ASUS motherboards at Computex a few months ago.
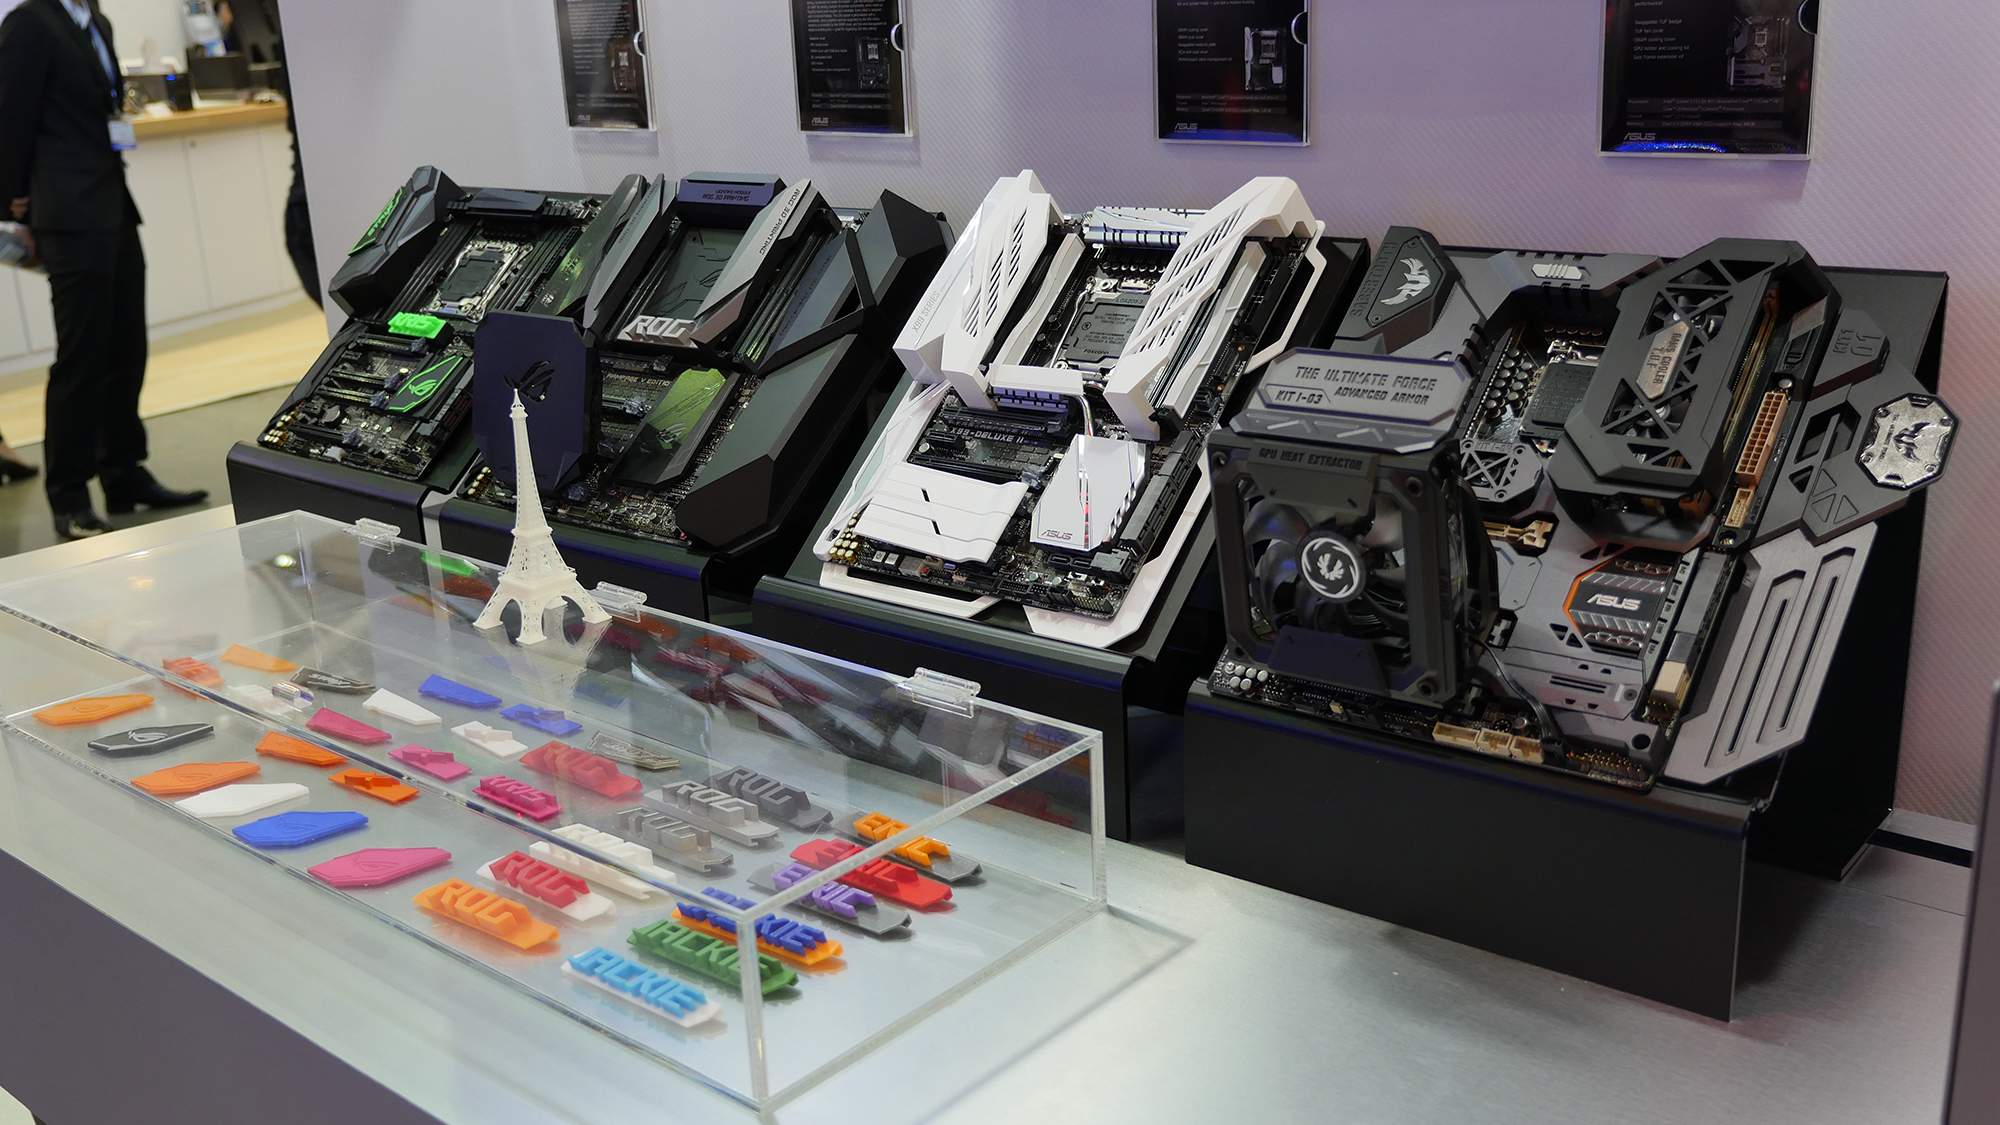
An array of 3D-printed motherboard embellishments at Computex 2016
Many of the items featured at the ASUS booth were aesthetic enhancements primarily focused on covering cables and other components. These pieces were inspired by the success of the motherboard IO shroud shown below.
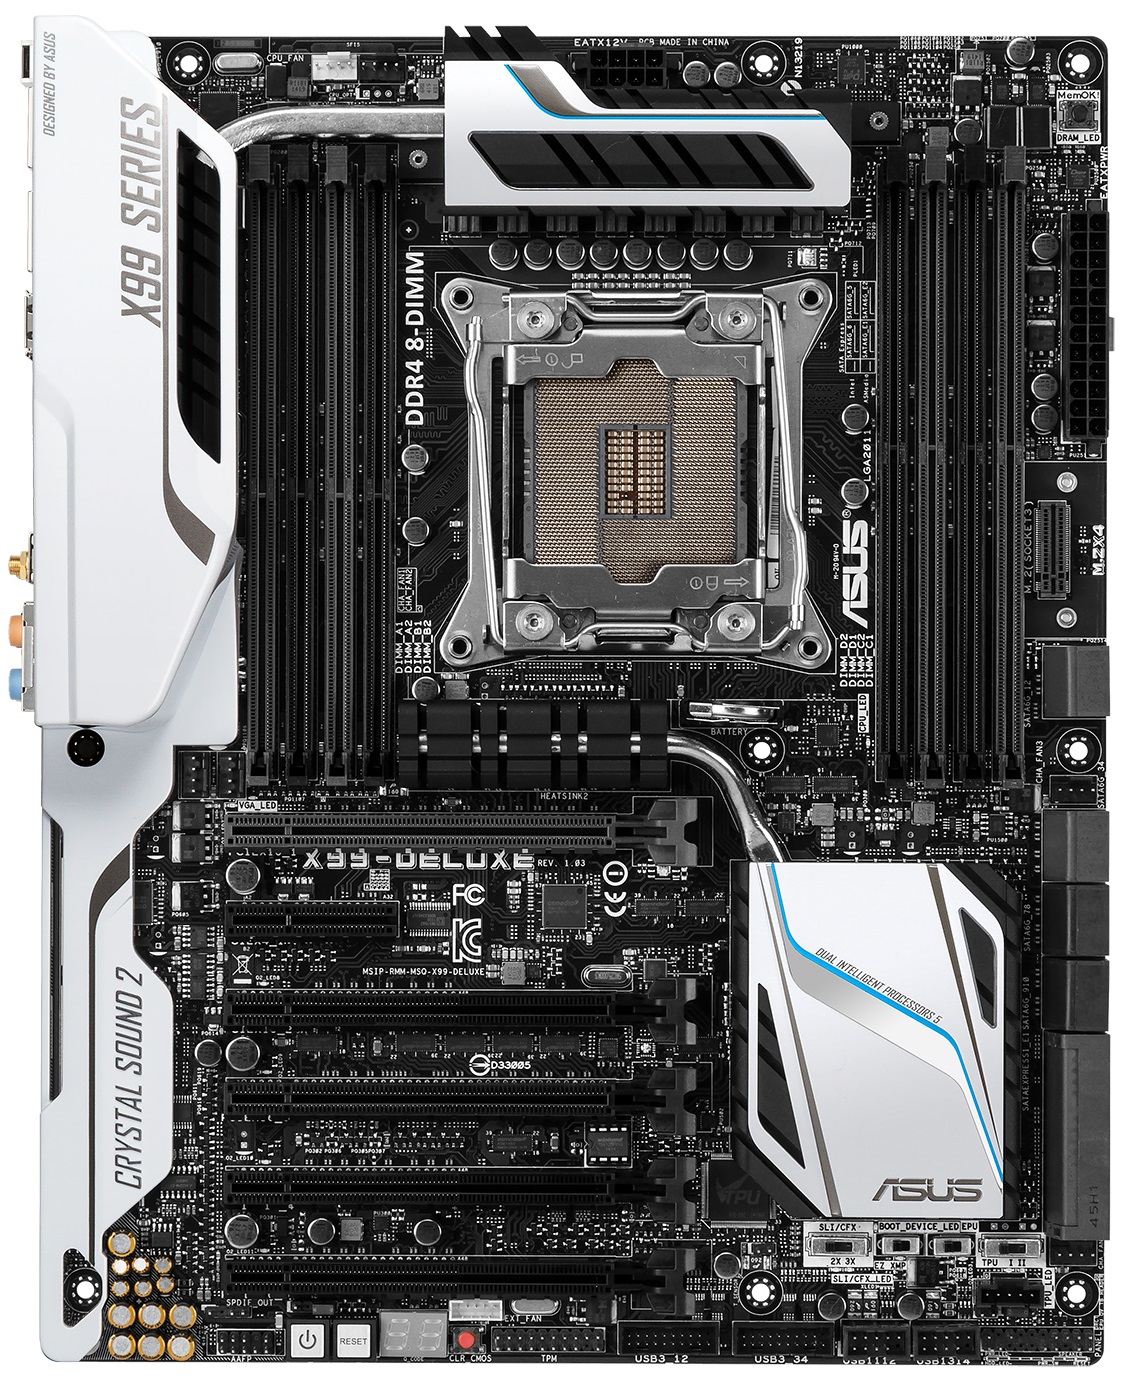
The X99-Deluxe–the first outing for the now infamous motherboard IO shroud.
First introduced by ASUS as part of the predominantly black-and-white color scheme for the X99-Deluxe, the IO shroud was an instant hit. The sales figures for the X99-Deluxe reflected that, but I can’t share those numbers with you. However, I will share this: while we can’t pin all of the board’s success on the shroud, this was the first time in recent history that the Deluxe outsold all other ASUS high-end desktop motherboards. For us, this confirms that getting the aesthetics right matters a lot.
Before we get ahead of ourselves, we should take some time to discuss the limitations of 3D printing. Our initial attempts at creating parts showed that gradients look a little rough, especially when pieces are larger than a few centimeters. This is due to the way most 3D printers work. Each piece is built up in layers, and on any gradient, those layers will show in the final product as a step-like pattern. This happens even if you ask a 3D printing supplier to polish a piece for you. Pieces can be finished by hand, but bringing larger ones up to acceptable standards can require a lot of elbow grease. That probably won’t deter hardcore modders, although I suspect it will discourage casual DIYers. Ideally, gradients need to be used sparingly.
For those of us without 3D printers of our own, large items can be expensive to print, which outweighs the appeal. That means the focus should be on developing smaller items and accounting for the limitations of 3D printing at the design level. We also feel there’s a need to maintain aesthetic balance; large items can be overbearing, because they take the focus off the hardware. Go too far, and a motherboard can end up looking like an overdressed boy-racer automobile rather than a refined piece of electronics. That’s something we’re keen to avoid.
We shouldn’t allow ourselves to be deterred by the limitations, because there are plenty of opportunities to produce smaller parts, including ones with more than just aesthetic merit. In that regard, there was one item on display at Computex that caught our attention:
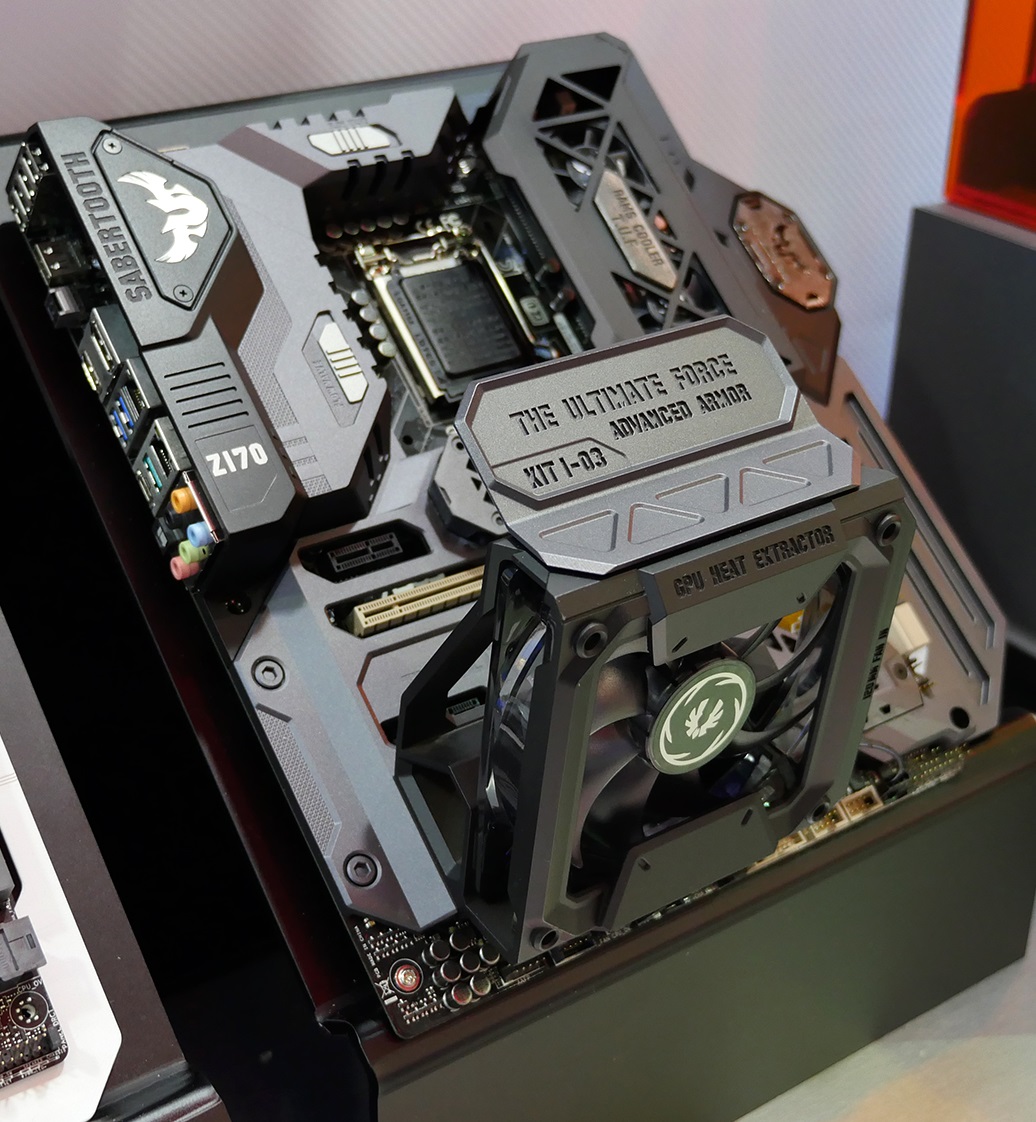
A combined 120-mm fan mount and graphics support for the Sabertooth Z170
Designed for the Sabertooth Z170 Mark 1 motherboard, the combined 120-mm fan mount and graphics card support is an interesting idea. Graphics cards have become heavier over the years, which causes them to sag when installed in a PCI Express slot without additional support. The airflow in some PC chassis is also poor, which can lead to elevated GPU temperatures. In theory, an item like this tackles two irksome issues. This is the type of thing that stirs our imagination regarding what can and should be done with 3D printing.
We displayed 3D-printed parts at Computex to solicit feedback from attendees. Around the same time, we were also finalizing an enhanced version of our Z170 Pro Gaming motherboard. This update was prompted by feedback from system integrators, who requested adding a dash of RGB lighting, changing to a more neutral color scheme, and reinforcing the PCIe slots.
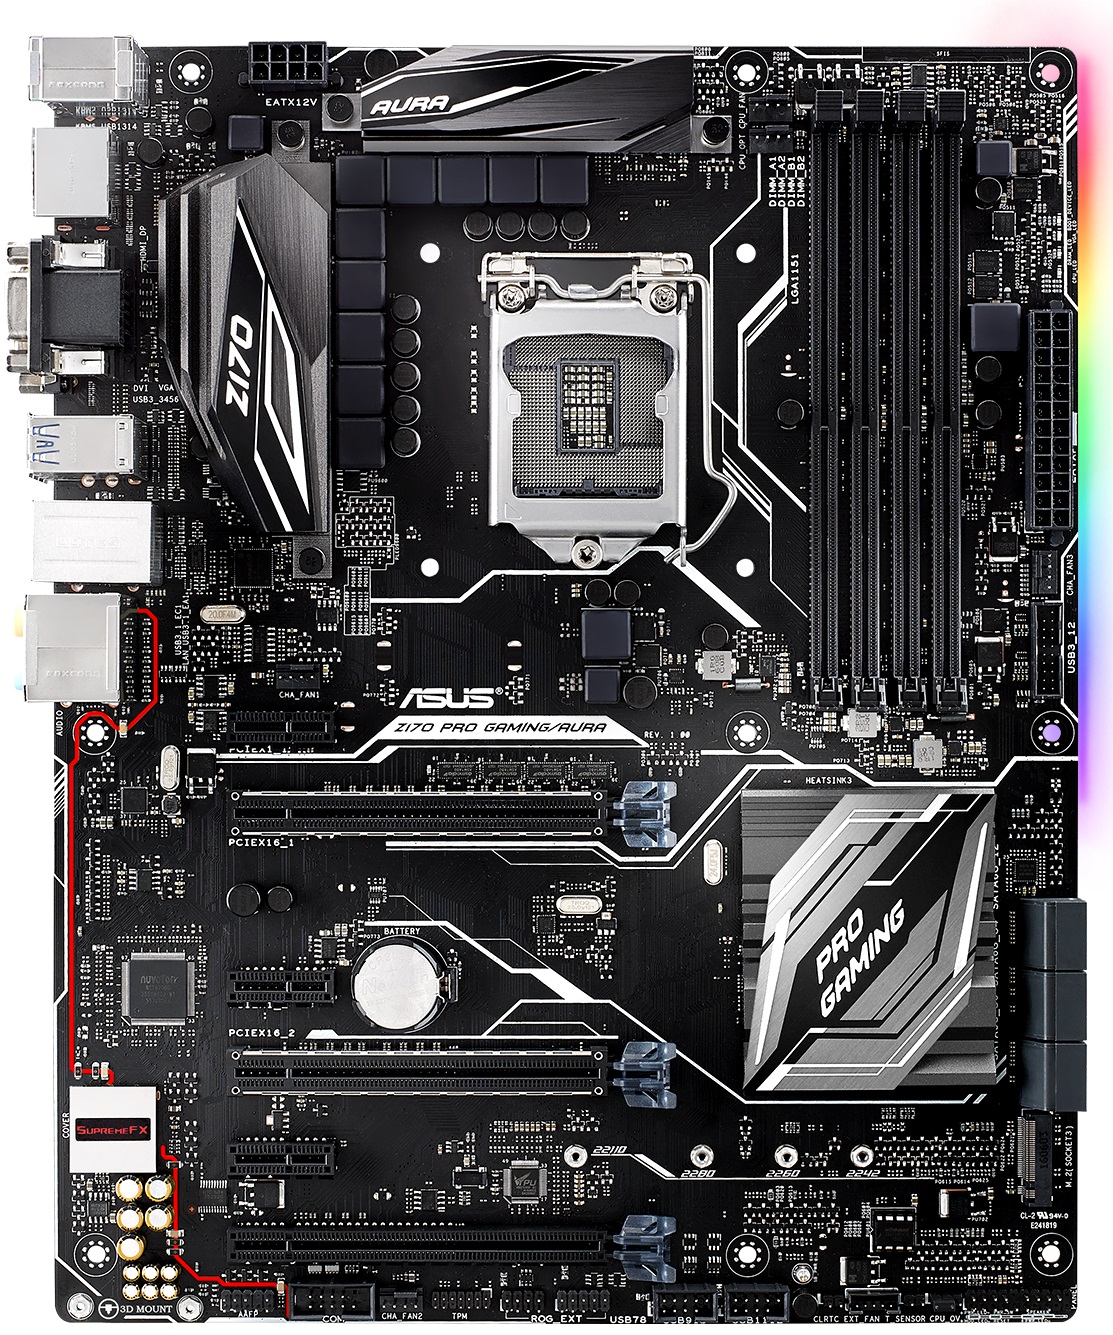
Priced at $165, the Z170 Pro Gaming/Aura
Since the timeframes for Computex and finalizing this motherboard coincided, suggestions from modders and system integrators also prompted our R&D team to make the Z170 Pro Gaming/Aura a little more friendly to 3D printing. The feedback suggested adding dedicated mounting points for 3D-printable parts such as nameplates. Although it was too late to rework the motherboard’s trace layout to accommodate lots of mounting points, we managed to squeeze a couple into the lower left corner of the PCB:
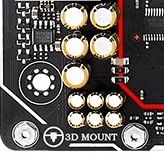
The Z170 Pro Gaming/Aura’s mounting points for 3D printed parts
These 3D Mounts use the same screws as M.2 drives to anchor 3D-printed parts to the motherboard.
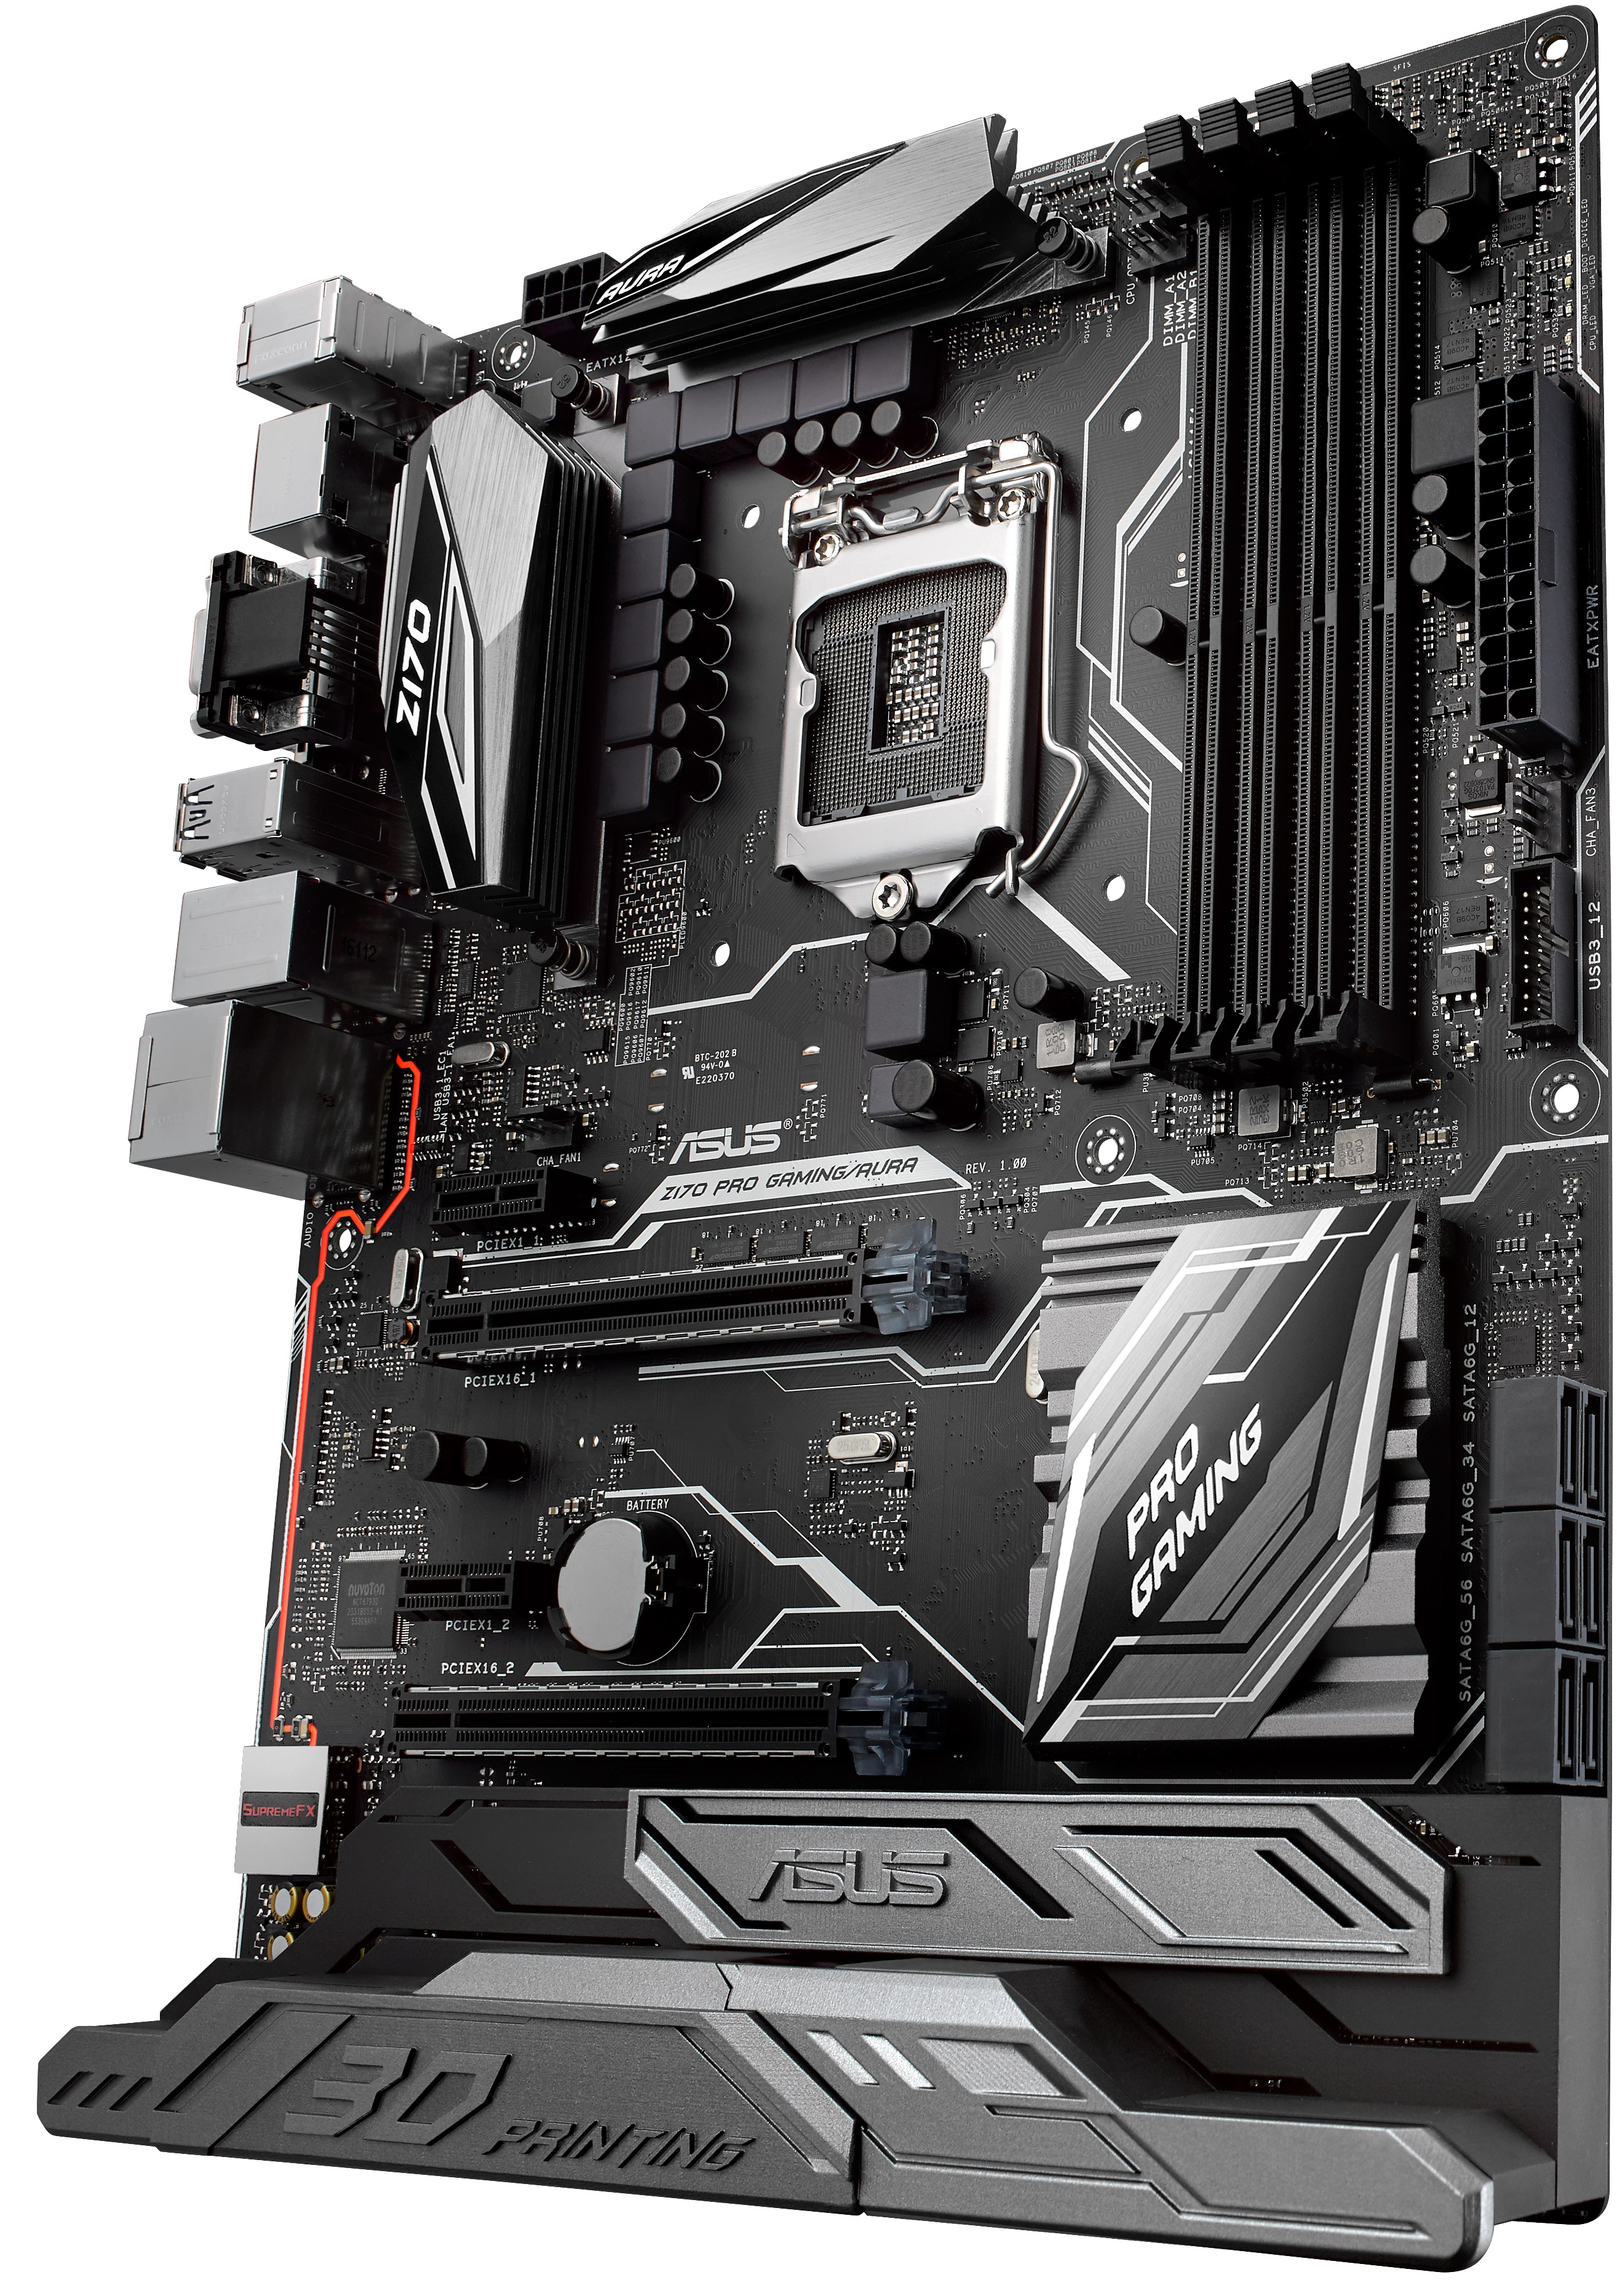
A 3D-printed cable cover with a customizable logo for the Z170 Pro Gaming/Aura
The initial plans were to utilize the dedicated mounting points to create a cover for the audio circuitry. However, feedback from modders and system integrators led to the creation of the cable cover and logo panel shown above. While the location is somewhat obscure, I can understand the intent; being able to integrate a custom logo is an attractive feature for system integrators. And while I’m all for showing off sleeved cables, sleeving smaller front-panel wiring can be time-consuming, so the option to cover it up is appealing.
As we said earlier, we like the idea of utilizing 3D printing to solve irksome issues. Most motherboards have at least one M.2 slot, and it’s usually placed near the PCIe slots. While this location makes sense aesthetically and electrically, it’s not the best for airflow. M.2 SSDs can get hot when pressed for data over sustained periods, and those elevated temperatures can trigger throttling that reduces performance. Thermals can also affect NAND retention and endurance, so most users are eager to keep their drives as cool as possible. As shown in this M.2 SSD throttling article, providing some airflow over a drive helps to lower temperatures.
So, when ASUS HQ prompted us for feedback on 3D-printed parts for the Z170 Pro Gaming/Aura, we suggested a fan mount for M.2 drives.
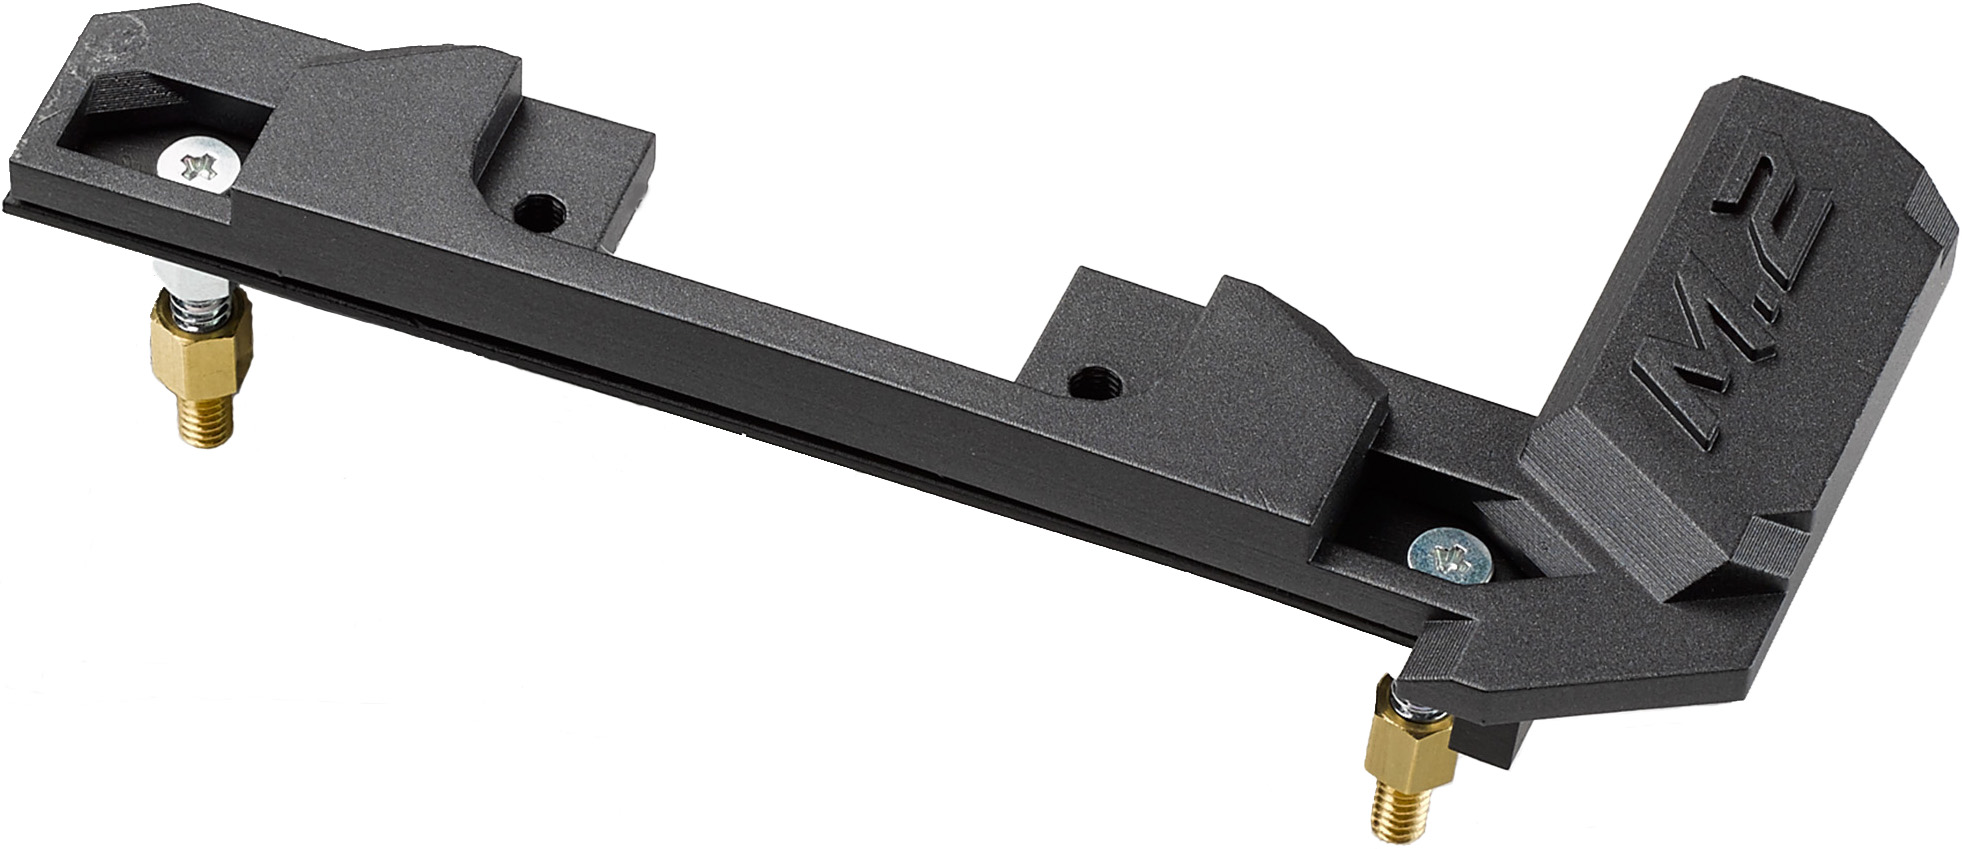
A 3D-printable 40-mm fan mount for cooling M.2 drives
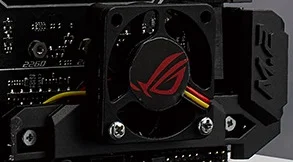
The M.2 fan mount and fan, in situ
The design above uses the standard motherboard mounting holes instead of the board’s dedicated 3D Mounts. Installation requires a couple of stand-offs at least 6.5 mm tall. We opted for this approach because the slot is close to the standard mounting holes and the M.2 cooler is easy to install once the motherboard is inside the chassis. The only thing that makes this design specific to the Z170 Pro Gaming/Aura is the location of the M.2 slot on the motherboard.
Depending upon the material you choose, the cost of printing a smaller items like this is obviously more agreeable than for larger pieces. The M.2 cooler should be easy for anyone with a 3D printer to make themselves, or you can have it printed by an online service like Shapeways for less than $12.
More 3D-printable enhancements
The cable cover also sparked a few ideas for a few off-board nick-nacks that are becoming more popular: cable combs and SLI bridge covers. The market for sleeved cables has exploded over the past few years; there are vendors dedicated to producing cables to order, complete with different colors for individual wires. When these cables are put to use, builders prefer to keep them tidy and organized, which in turn creates a need for cable combs.
In truth, there’s no shortage of cable combs on the market. But the prospect of a design that you can personalize or adapt for a given theme is cool.

A 3D-printed, 24-pin cable comb
This isn’t the type of comb you’d use for every power connector in a system, but there’s scope to alter the design to make it less directional or even add a personalized logo.
There’s a similar demand for aftermarket SLI bridges, because the ones that come bundled with motherboards don’t look nice and are often the sore thumb in any showcase PC build. Like with cable combs, aftermarket bridges are available, but the color and design options are limited–cue another 3D-printable item ripe for experimentation:
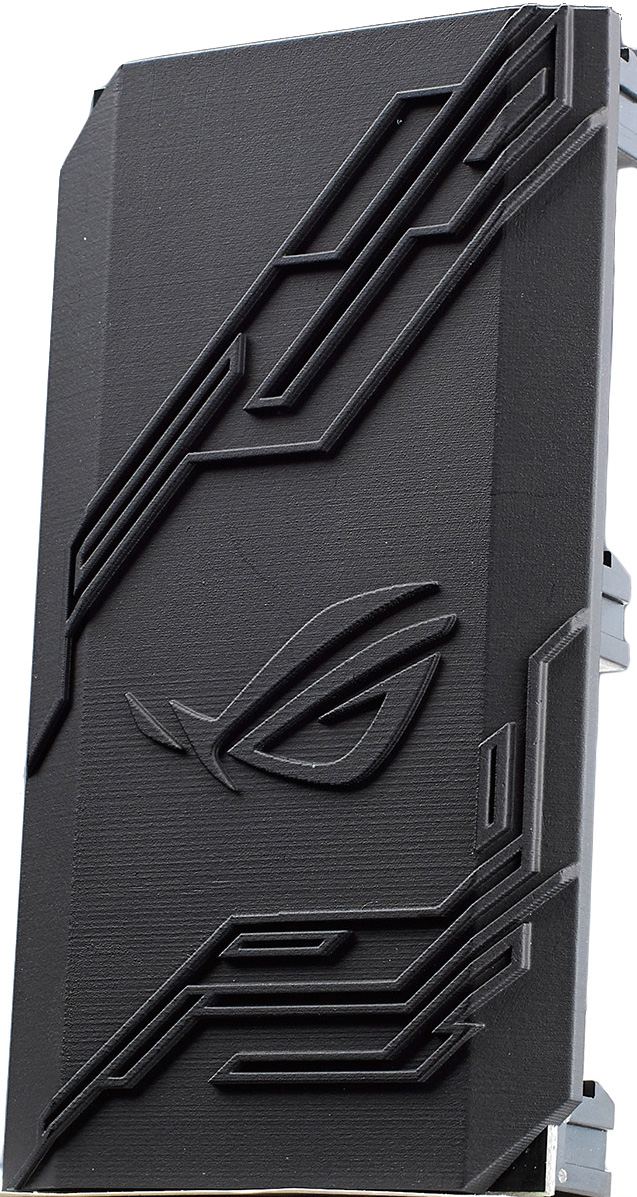
An SLI bridge cover you can print yourself
The bridge cover is designed to clip onto the PCB SLI bridges that are bundled with some motherboards. I’ll admit, it isn’t free of visual defects, but a bit of sanding should help buff things up to an acceptable level. It’s also possible to paint items like this to get just the right color.
There’s room for 3D-printed parts on peripherals, too. Here’s a modified finger rest for the ROG Spatha gaming mouse:
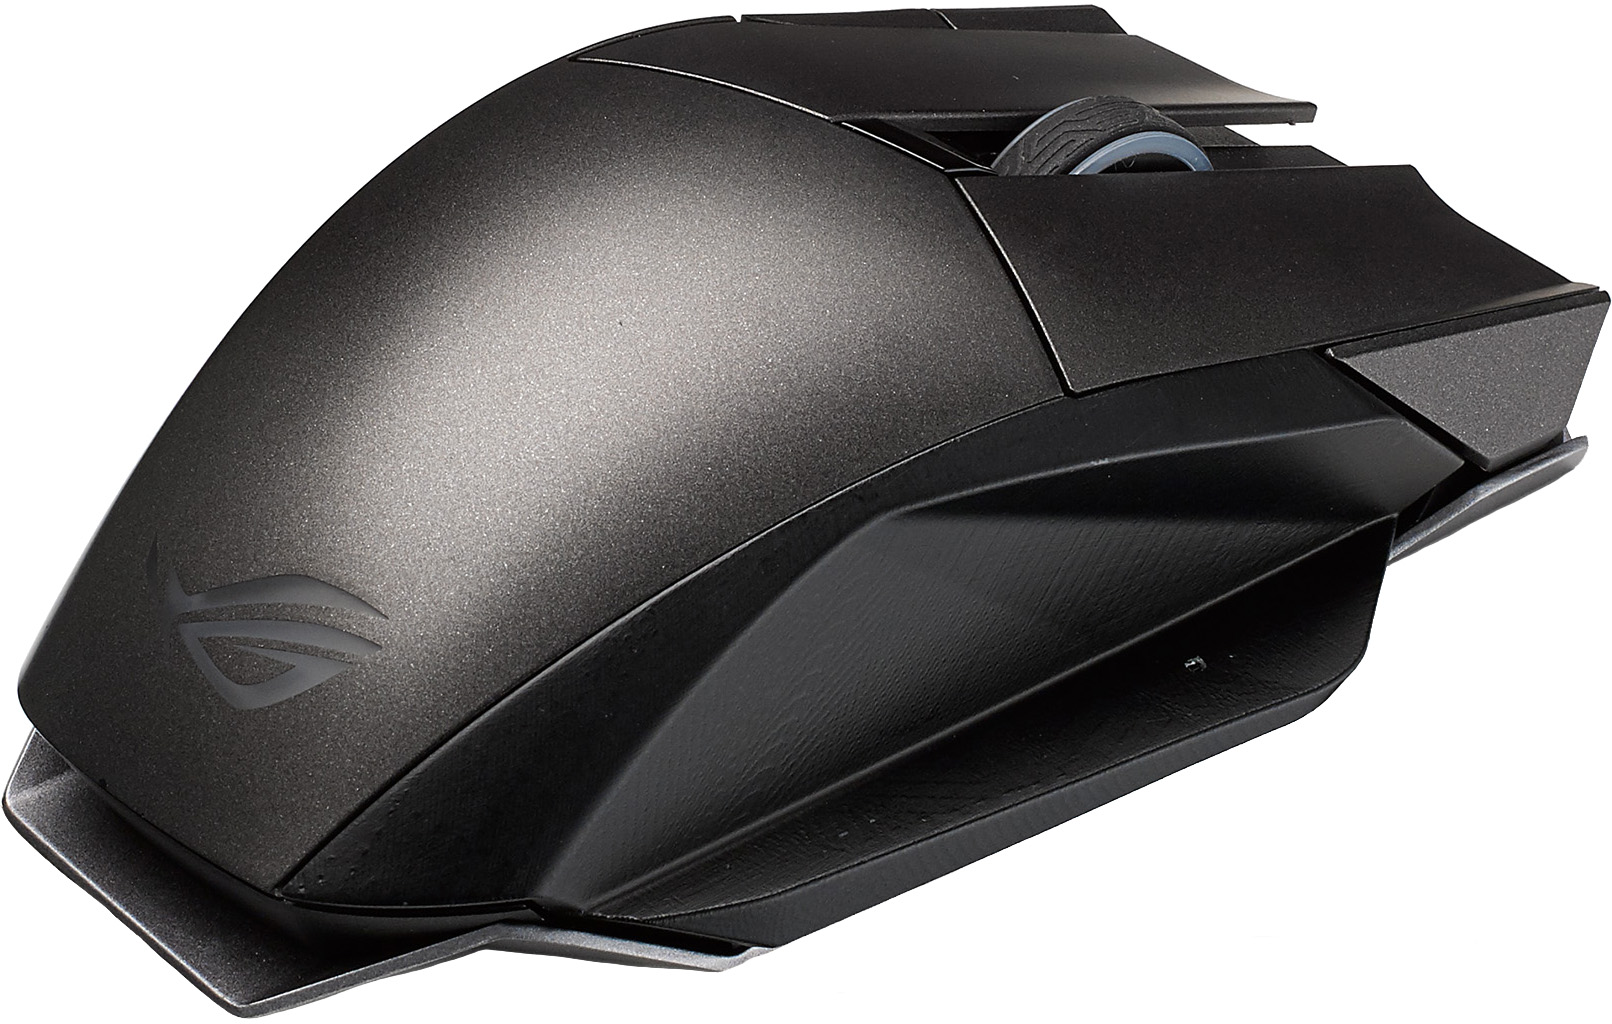
The ROG Spatha fitted with a 3D-printed finger rest

…and with the original finger rest
Obviously, these 3D-printed parts can’t compete with the quality that dedicated manufacturing processes provide. But when options are limited or customization is desired, they offer savvy DIYers an opportunity to experiment and find a workable solution.
FreeCAD and 3D source files
Before we published this article, we wanted to see how difficult it would be to manipulate the 3D files for these parts ourselves. We found a program called FreeCAD that, as the name implies, is completely free to use. I can’t pretend to know how versatile this software is from a design point of view, but it’s perfectly capable of importing, manipulating, and exporting files in the formats used by vendors who sell 3D-printed parts and makers who print their own pieces.
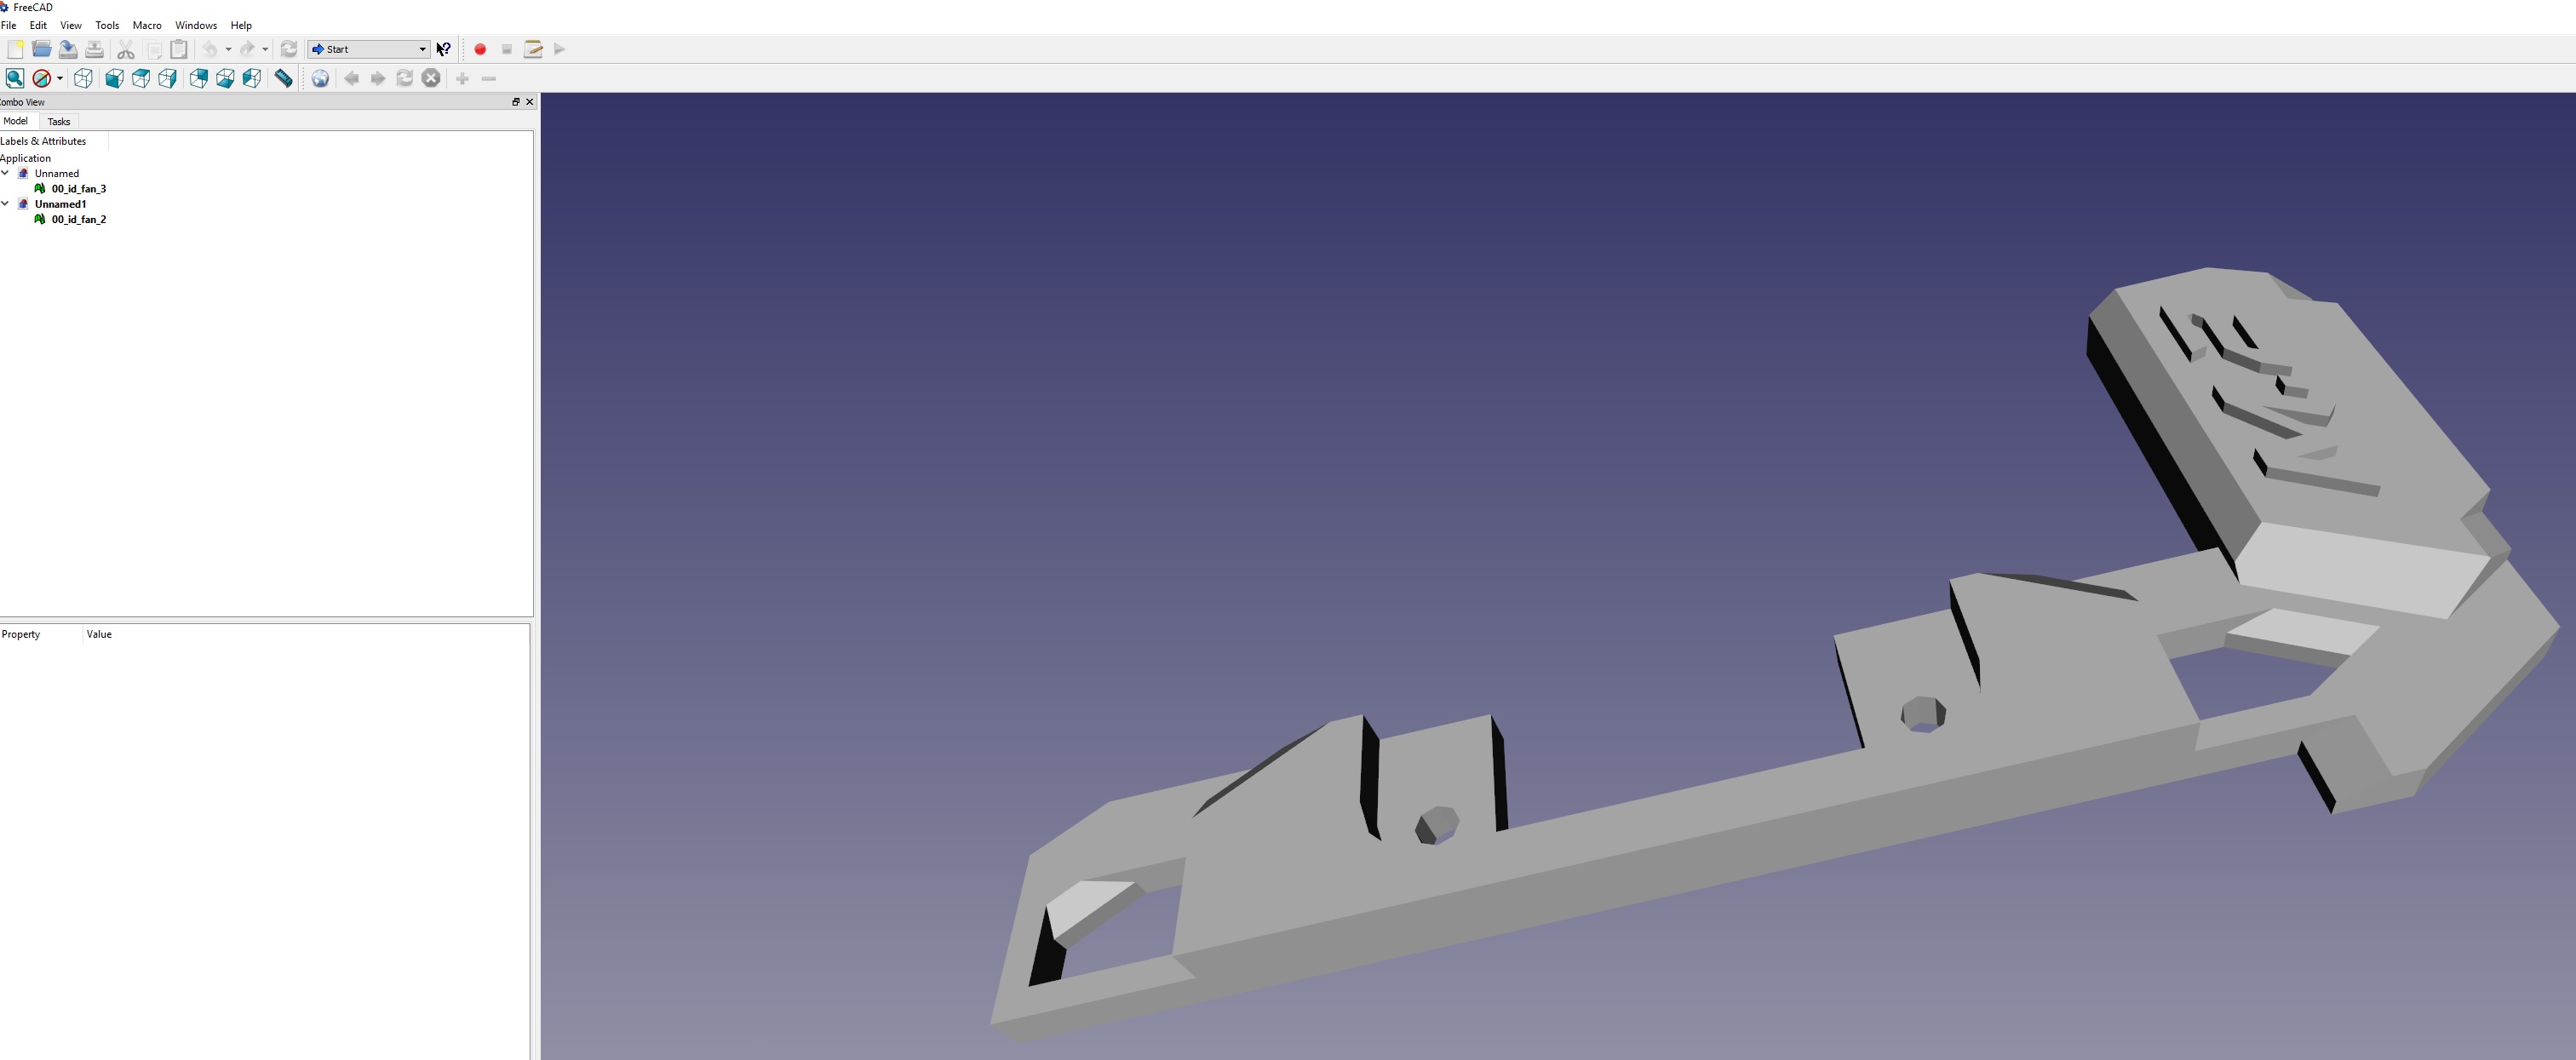
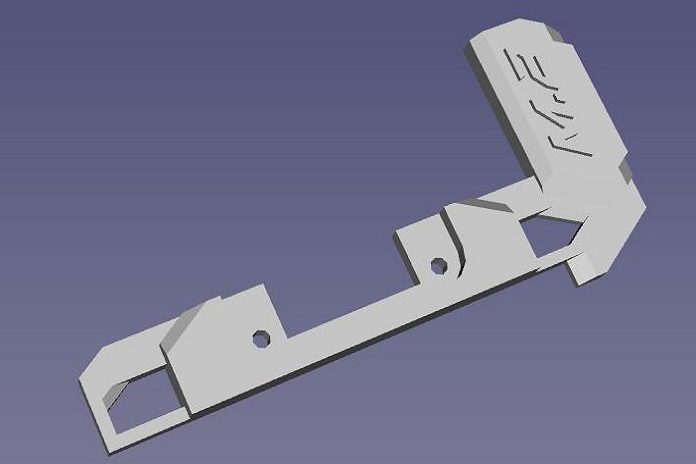
A 3D source file in FreeCAD
The FreeCAD learning curve is steep, but investing some time should allow you adjust existing parts, add text, or change other attributes.
If you’d like to print any of the items we’ve discussed yourself–or take a stab at modifying them–head over to the ROG forums to download the source files. For users based in North America or Europe who don’t have access to a 3D printer, we recommend using an online printing service like Shapeways, which has a wide choice of materials and colors. They’ve got offices in the US and the EU that offer reasonable regional shipping rates.

