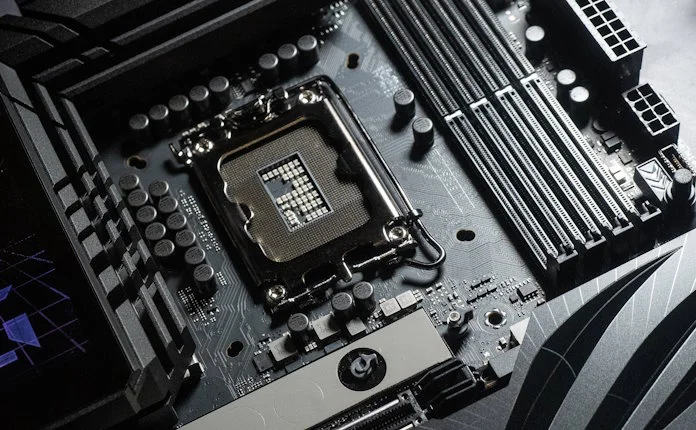
Intel’s next-gen Core CPUs are on the way. While we can’t share many details about these chips, we can spill the tea about one thing. Intel’s next-gen CPUs will slot into LGA 1700, the same socket that you’ll find on our existing Z790, B760, Z690, and B660 motherboards. Whether you plan to buy one of these processors to upgrade your current PC or start from scratch with one of our latest Z790 motherboards, make sure that your motherboard’s firmware, or BIOS, is fully updated and ready for the new CPUs. Without a BIOS update with the latest firmware, your system might not boot at all, or you might not get the best performance out of your PC.
To help you with this process, we’re releasing the BIOS updates you need in advance. If you’re a seasoned PC building veteran, you can click here to find the updates for your Z690 or B660 motherboard, or click here to find the updates for your Z790 or B760 motherboard. If you could use a little help with the process, we’ve put together this handy guide to performing a BIOS update on your ASUS Intel motherboard.
Which motherboards need a BIOS update?
If you already own a Z790, B760, Z690, or B660 motherboard, it will need to be updated for full compatibility with next-gen Intel Core CPUs. We highly recommend that you complete the BIOS updates prior to purchasing and installing your new processor.

If you’re planning to purchase a new motherboard for your next-gen Intel Core CPU, you still might need to plan a BIOS update. We are releasing a new series of Z790 motherboards, and we will make every effort to make sure that these motherboards leave the factory with the latest firmware installed. If you buy one of our older series motherboards with an LGA 1700 socket, there is a chance that you may receive a motherboard from older stock whose installed firmware is not compatible with a next-gen Intel CPU, even if the motherboard model itself is compatible.
If you plan to be an early adopter of next-gen Intel Core CPUs and are starting a new build from scratch, we strongly recommend you choose a motherboard that includes our USB BIOS FlashBack™ feature so that you can update its firmware even without a compatible CPU on hand. Many of our ROG Strix and ROG Maximus motherboards include USB BIOS FlashBack™. We’ll describe how to use USB BIOS FlashBack™ in detail later in this article.
Two ways to update your BIOS
In this guide, we’ll walk you through the steps for updating your motherboard’s BIOS for next-gen Intel CPUs. We’ll actually cover two different methods for getting the job done.
- EZ Flash 3. Right inside your motherboard’s BIOS interface, you can update your motherboard’s firmware using our EZ Flash 3 utility.
- USB BIOS FlashBack™. Here’s your failsafe method for updating your motherboard’s BIOS. All you need is a USB drive, a motherboard, and a power supply. It’ll even work if your fully assembled system does not boot due to incompatible firmware. Please note that not all motherboards have the necessary hardware for USB BIOS FlashBack™.
Gather information
Before you proceed with any firmware update, you should make note of any custom settings you have applied to your system, such as a CPU overclock, memory overclocking, custom fan control curves, or any other BIOS settings specific to your build, as those settings will not be retained after the upgrade. Your motherboard’s firmware can save screenshots to a connected USB flash drive (usually if you press F12 in the firmware), or you can simply take photos of your monitor with your phone. To access the firmware and collect this information, restart your PC and press Del or F2 repeatedly until the firmware interface appears.
Whether you initiate the BIOS update process from within Windows or from the BIOS interface itself, your system may reboot to a prompt asking you to press F1 to re-enter the BIOS upon completion of the update. You should do so, as you will need to re-configure the new firmware to re-apply any custom settings you made upon initial setup. Once you have reapplied any settings you wish to change, press F10 to save the changes, exit the firmware, and boot into your operating system.
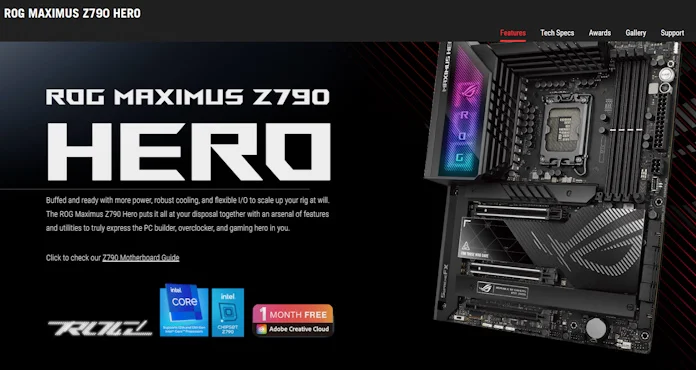
To obtain the correct firmware update, you’ll need to know the exact model name of your ASUS motherboard. If you don’t know this information off the top of your head, you can download and run a free system monitoring program like HWiNFO64, which will tell you your motherboard’s model name in its main interface. For example, a full model name of one of our Intel Z790 motherboards might be “ROG Maximus Z790 Hero (Wi-Fi).”
Download your firmware
To make it easy for you to update your BIOS in advance, we’ve compiled links to the new firmware updates on two landing pages. Click here to find the BIOS updates for your Z690 or B660 motherboard, or click here to find the BIOS updates for your Z790 or B760 motherboard.

You can always find the latest updates for your ASUS hardware at our dedicated support portal. This will guide you directly to the correct support page by asking you for your motherboard’s platform and model name. You can also simply search for your motherboard’s model name using a service like Google. The motherboard’s product page will often be the top search result. From the product page, seek out the “Support” link in the upper right corner of the page.
Once you’ve reached your motherboard’s support page, click the “Driver & Tools” tab, then find the “BIOS & Firmware” link slightly farther down the page. Under the “BIOS” heading, you’ll find firmware files available for download. The top-most file is the most recent. To ensure that the firmware you intend to install supports your most recent CPU, check the date by its version — its release date should be no earlier than August of 2023.
Once you’ve located the latest firmware version for your motherboard, click the “Download” button. Your system will proceed to download a compressed ZIP archive. Locate the downloaded ZIP file in Windows Explorer (usually in your Downloads folder unless you’ve remapped it), right-click it, and choose “Extract all” from the context menu. A window will appear suggesting a destination folder. You don’t have to change it—just click “Extract.” Once this process is complete, you’ll have a new folder in your Downloads directory (or your custom download destination) whose name includes both your motherboard’s model name and the BIOS version you’ve downloaded. Inside this folder, you’ll find a BIOS file with the extension .cap, as well as a utility called “BIOSRenamer.” We’ll discuss how to use these files soon.
Perform a BIOS update with EZ Flash 3
For most folks, the easiest way to update their ASUS motherboard’s BIOS is through the EZ Flash 3 utility in their motherboard’s BIOS interface. One way to use EZ Flash 3 is to access the new BIOS file directly from your PC’s primary storage device. To use this method, simply download the latest BIOS file, extract it using the steps we described earlier, make note of the directory in Windows where the file is located — usually your Downloads folder — then restart your PC. Press Del or F2 repeatedly as soon as the PC restarts to enter the BIOS interface.
Once your PC loads the BIOS interface, you’ll first want to make sure you’re in Advanced Mode. Look at the lower right corner of the screen and check whether the prompt says “EzMode (F7)” or “Advanced Mode (F7).” If the prompt says Advanced Mode, press F7.
In the Advanced Mode interface, look along the top of the screen for the “Tool” heading. Click it and find “ASUS EZ Flash 3 Utility” in the resulting list of tools. Click “ASUS EZ Flash 3 Utility” to enter the firmware update tool.
Once you’ve entered the EZ Flash 3 utility, look for your primary storage device’s Windows partition. Instead of a drive letter, you will see a list of partitions in the format fsx, such as “fs0, fs1, fs2, fs3” and so on. Your primary Windows partition, if it occupies your entire system drive, will have a size close to your SSD’s rated capacity. Next, navigate to the full path of the folder you downloaded and extracted your BIOS to. The new firmware file should be the only file visible in this folder. Click the file or press Enter, and EZ Flash 3 will ask you whether you wish to read the file. If the file is successfully read, the tool will tell you what version you are updating to and its publication date. Verify that this is the file you want to install, then click “Yes.” The system will process the file and then reboot.
If you’d rather not navigate the entire Windows directory tree, you can also use a flash drive with EZ Flash 3. To do this, you’ll need a drive formatted with either of the FAT16 or FAT32 file systems. If you have a flash drive and are unsure of what file system it’s set up to use, you should reformat it. Move any data that you want to keep onto another storage device. Then, right-click the drive in File Explorer, select “Format” from the context menu, and then make sure that the file system is set to use FAT32. Be aware that formatting the drive will delete any remaining data on the disk.
When you’re ready to format the drive, click “Start” at the bottom of the window. Once the drive is formatted, you can copy the new BIOS file you downloaded to it. Once the file is on the drive, leave it in the USB port, restart your computer, and enter the BIOS using the steps above.
Next, find your USB storage device in the list of drives attached to your computer. As with your primary SSD, it’s usually easiest to find it by the listed size in MB (for example, you might see 15063 MB for a 16GB flash drive). Once you’ve identified your drive in the list, click it, then find the new firmware file on the USB flash drive. (It may be easier to carry out this process if that file is the only one on your drive).
Once you’ve found the file, click it and confirm that you want the firmware to read the new file to carry out the update, as described above.
Start from scratch with USB BIOS FlashBack™
If you discover that your new PC with a next-gen Intel Core processor will not perform a power-on self-test, or POST, when you attempt to boot it up for the first time, its installed firmware may not be compatible with your CPU. If your motherboard includes the feature, you should update its firmware using USB BIOS FlashBack™. BIOS FlashBack™ only requires a power supply and a USB flash drive to run at a minimum, but even if you discover that your fully assembled system does not boot, you can still use this method to bring its firmware up to date.
To use USB BIOS FlashBack™, you will need another computer that you can use to create a flash drive loaded with the necessary firmware. Follow the same instructions for downloading the latest firmware to that PC we discussed earlier, and follow the same reformatting instructions that we shared in the EZ Flash 3 section to prepare your flash drive for use with this feature.
Once you’ve downloaded the BIOS file from the support page from your motherboard and extracted it from its archive, there is one extra step you’ll need to take to use it with USB BIOS FlashBack™. Navigate to that folder and look for the BIOSRenamer application that comes with each download. Double-click the BIOSRenamer application to run it. The program should open a command prompt window noting its successful execution and prompt you to press any key to exit. After this utility runs, your BIOS file should be named so that BIOS FlashBack™ can recognize it. Copy this renamed file over to your flash drive, eject it, and carry it over to the motherboard or system you wish to update.
Before attempting to use BIOS FlashBack™ on the motherboard you’re updating, make sure that you’ve hooked up a power supply to the motherboard’s 24-pin ATX12V connector and all its four- or eight-pin auxiliary EPS connectors. Make sure that the power supply is plugged into a wall outlet, as well. As we noted earlier, you can also use BIOS FlashBack™ on a completely assembled PC if needed.
Once your PSU is connected to the motherboard, turn on the power supply using the switch on its back panel if you have not already. Depending on your motherboard model, you may see some onboard LEDs or buttons illuminate. This indicates that your motherboard is receiving power.

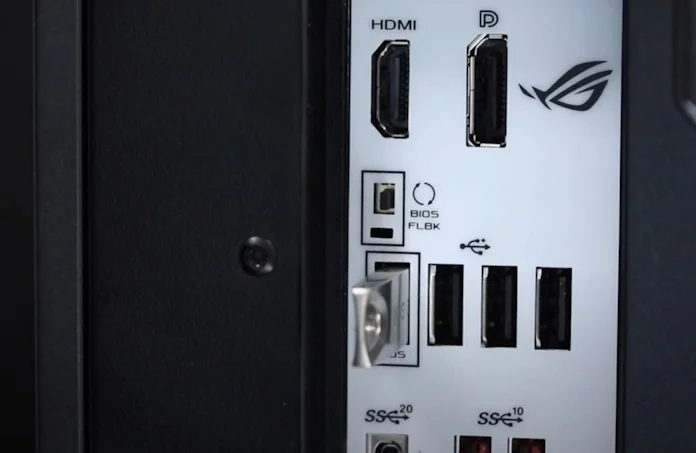
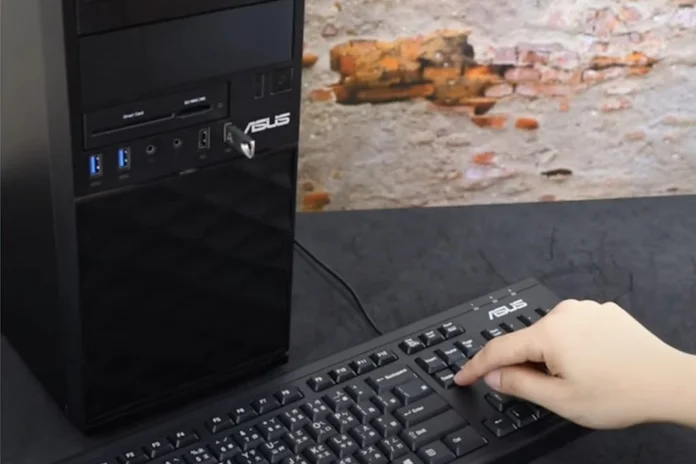
Next, look for the USB port on the back panel that’s labeled “BIOS.” Insert your prepared flash drive into this port. Then look for a nearby button marked “BIOS,” press it, and hold it until an LED indicator begins to blink slowly, either on the button itself or in a nearby location on the motherboard. If the BIOS file is read successfully, the LED will begin to blink faster, indicating that the BIOS is being updated. Wait until the LED goes out. At this point, the BIOS has been successfully updated, and you can attempt to boot your PC again.
If the BIOS FlashBack LED turns solid after you initiate the process, the tool has run into a problem. This may indicate that there is an issue with the BIOS file you are attempting to use, the formatting of your flash drive, or another issue preventing the updating routine from running. You might attempt to re-run the process using a different flash drive or to reformat your existing drive and try again. You should also double-check the name of the BIOS update you are attempting to install against the support page of your motherboard — the proper file name for BIOS FlashBack is listed alongside each update. If the BIOS file name is not correct, ensure that it matches the listed name for your motherboard.
Pave the way for your next Intel build with a BIOS update
If you need to upgrade your ASUS motherboard’s firmware for Intel’s next-gen Core CPUs, you’ll find that it’s a quick and easy process within your motherboard’s BIOS interface or with USB BIOS FlashBack™. No matter which method you choose, you’ll be up and running with your new CPU in no time. If you still have questions after reading through this guide, please reach out to our support teams for assistance.

