

The TUF Gaming A15 is all about value. For a reasonable price, you get a powerful eight-core AMD Ryzen CPU, up to one of NVIDIA’s latest GeForce RTX GPUs, and all the essentials for getting started with PC gaming. If you have a little bit of time and an ordinary screwdriver, you can get even more value out of this laptop. We made it easy to open up the A15 and install more storage space and RAM. We’ll walk you through the steps with this handy TUF Gaming A15 upgrade guide.
No-fuss access to key components
If you’ve never replaced a component in a laptop or desktop PC before, you might be nervous about the prospect of performing surgery on your device. That’s understandable, but the truth is that upgrading your TUF Gaming A15 is more like replacing the battery in a remote than it is like brain surgery. We have a long history of crafting components for those who like to build their own PCs, and we’ve applied that same philosophy in making sure that upgrading the A15 is a seamless, straightforward process.
Before you break out the toolbox, let’s talk about avoiding static electricity. An unlucky shock can damage your laptop’s sensitive internal components, so there are simple but important precautions to take before you get started on your upgrade. Make sure you place the laptop on a non-conductive surface like a wood table or stone countertop, and then touch any grounded piece of metal you can find to discharge lingering static. If you can work in a room with hard flooring, such as wood or tile, so much the better.
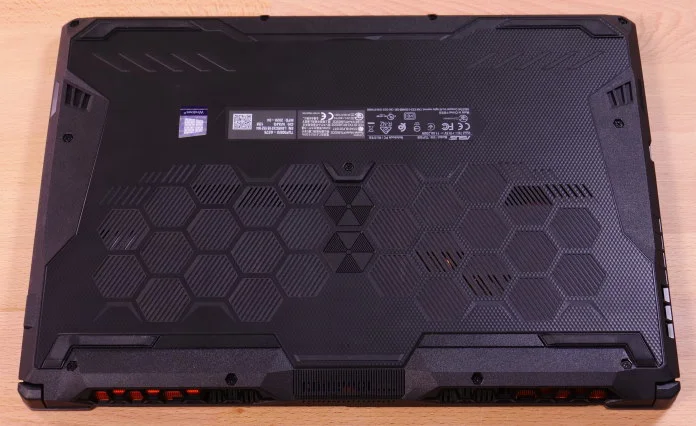
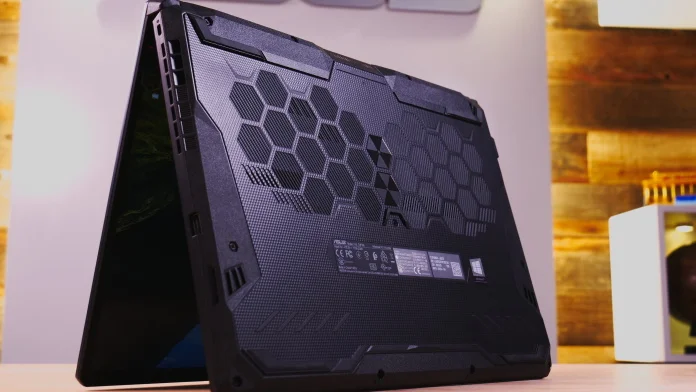
Now it’s time to open up your A15. Turn it off, unplug it from the power adapter, and flip it over on a well-lit, stable surface. On the bottom of the A15, you’ll see eleven Philips screws. With the laptop’s front edge facing you, make note of the one in the front-left hand corner and save it for last. That’s the pop-up screw—more on that in a moment.
As you take out the screws, pay attention to which one goes where. It can be helpful to set them on your working surface around the edge of the laptop so that you can return them to the holes where you found them. The reason to be careful here is that some of the screws are longer than others. If you put a long one into a short hole, you could drive it into sensitive hardware and damage your device. Muffin or cupcake pans can also help you sort long and short screws easily.
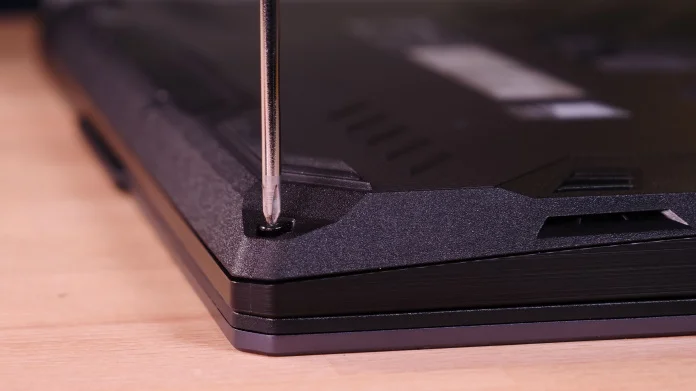
Next, loosen the pop-up screw. Don’t try to remove it from the chassis entirely, as it’s a captive fastener. All you have to do is unscrew it until the panel pops up.
With the screws removed and the pop-up screw loosened, you can now remove the bottom panel. All that’s holding this cover in place at this point are soft plastic hooks. A fingernail between the panel and the rest of the chassis should suffice to pop the panel free. If you do run into difficulty, it’s easiest to start loosening the panel on an edge rather than at a corner. If you’d rather use a tool to get the panel loose, don’t use something metal like a screwdriver that could slip and gouge the plastic or sensitive components inside. A plastic spudger or even an old credit card should be all you need.
Adding a second storage drive
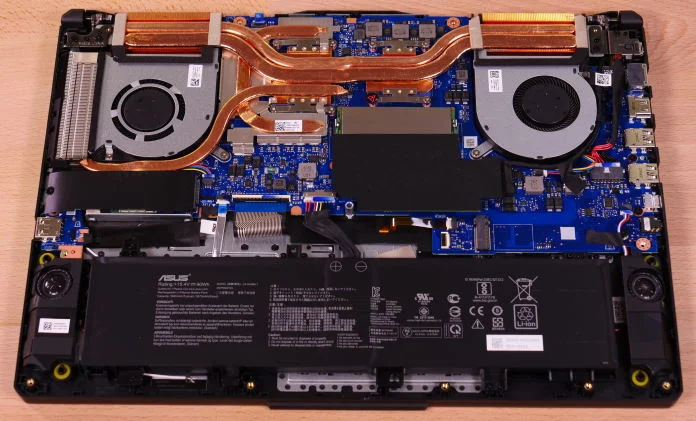
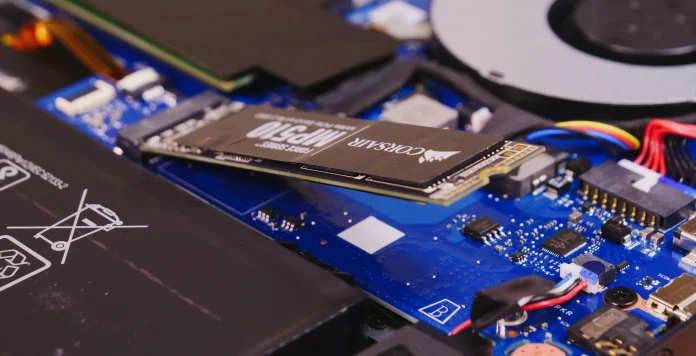
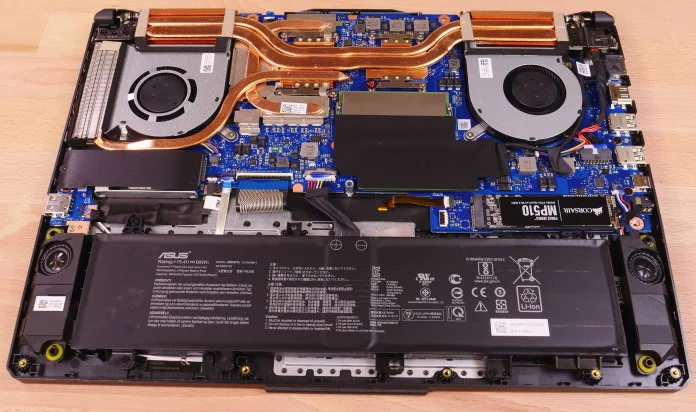
With the bottom panel removed, you’re ready to upgrade your A15. You might consider increasing your PC’s storage capacity to create more room for games, videos, pictures, and other media. The mechanical hard drives of the past were bulky devices, but you might not even notice the primary drive of your A15. It’s an M.2 SSD that’s just about the size of a stick of gum. There are two M.2 slots in the A15: an empty one that’s located in the bottom-right corner of the motherboard just above the battery, and one with a preinstalled drive in the upper left of the motherboard that’s closer to the laptop’s cooling module.
![]()
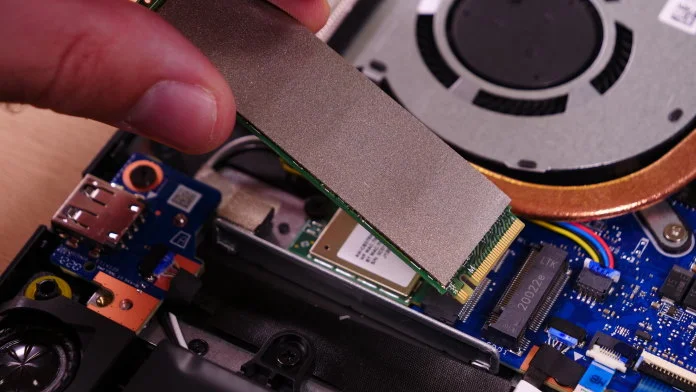
Since there’s a handy open slot, all you have to do to upgrade storage space is to pop in a new M.2 2280 SSD.
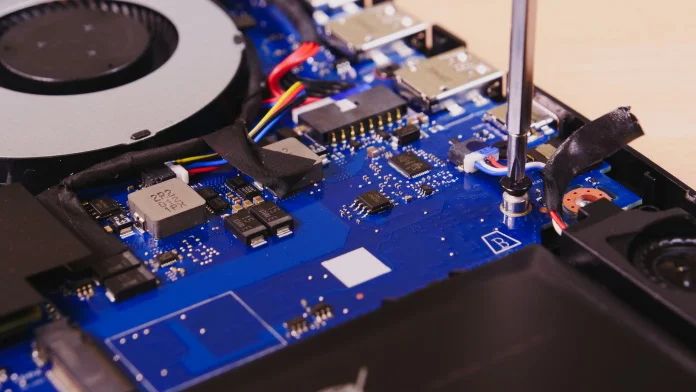
Start by removing the black mounting screw located across from the M.2 slot.
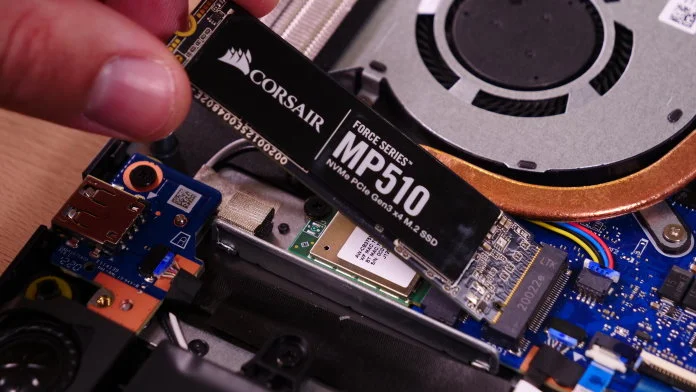
Then hold the drive by its edges as you push the end with the connector pins into the slot. You might need to wiggle it a little, but don’t force it. It’ll go in naturally at about a 30° angle.
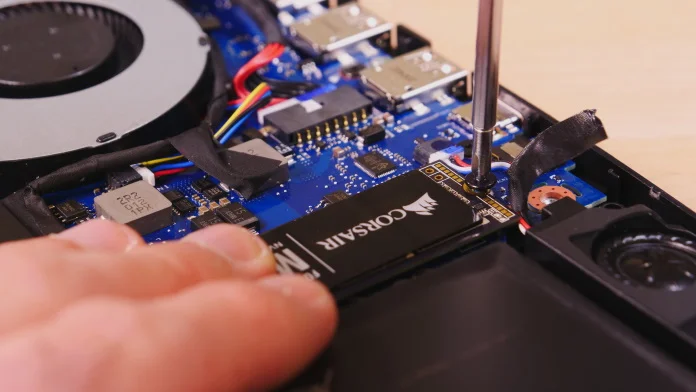
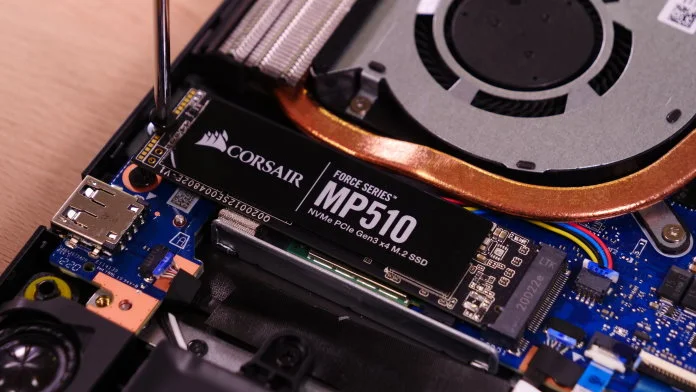
Press down slowly and firmly until the half-circle notch on the end of the drive lines up parallel with the mounting screw hole. Hold the drive in place while you thread the mounting screw back in.
With the drive in its slot, you’re just about done. Put the bottom panel of the A15 back on and screw it into place. It’ll take a little pressure to pop the hooks back in place, and that’s okay. Once the A15 has rebooted and you’re back in Windows, follow Microsoft’s instructions to format the drive and complete the process.
Replacing the primary storage drive
Down the road, you can also remove the primary M.2 drive and replace it with a different one. You’ll need to reinstall Windows afterward, so get a bootable USB drive ready before you start this process, and be sure to back up any important files that you want to transfer to the new installation. For high-speed, portable access to these files, try using the ROG Strix Arion. Slip a high-speed M.2 NVMe SSD into this tool-free enclosure, connect it to your A15 through its USB Type-C port, and you’ll enjoy transfer speeds up to 10Gbps.
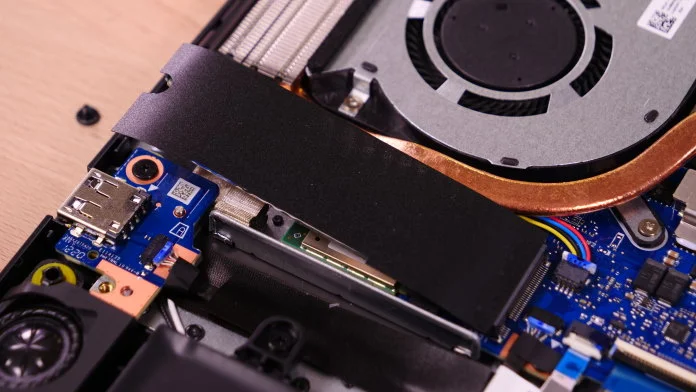
The primary storage drive is on the left side of the laptop next to the cooling fan. Remove the mounting screw to loosen the cover and heat spreader. The cover should roll back naturally, and then you can peel it off.
During this process, the old drive will rise just a bit on its own. Lift it to about a 30° angle and then pull it out. It shouldn’t take any more than a light wiggle to get it loose, if that.
Now it’s time to insert your new drive. As before, insert it at a slight angle.
With the drive in place, thread in the mounting screw gently. Remember that it just needs to be finger-tight. Now you’re ready to close things up and reattach the bottom panel. Before you power on the A15, insert your bootable USB stick into one of the USB ports so that you can reinstall Windows.
Multitask like a pro with a memory upgrade
There may come a day when you want more RAM in your system. We outfit the TUF Gaming A15 with enough RAM to meet the needs of most games today, but there’s no telling what tomorrow’s titles will require. If you’re using your PC for more demanding applications, like editing high-resolution video footage, then you may well want to max out the A15’s memory slots with 32GB of RAM.
A couple buying tips: RAM works best when you have two identical sticks operating in a dual-channel configuration, and it’s best to buy both sticks in a kit at the same time rather than upgrading piece by piece. The A15 supports 3200MHz DDR4 SO-DIMM memory sticks. Laptop memory uses a completely different form factor than desktop memory, so be sure to purchase SO-DIMMs, not desktop DIMMs.
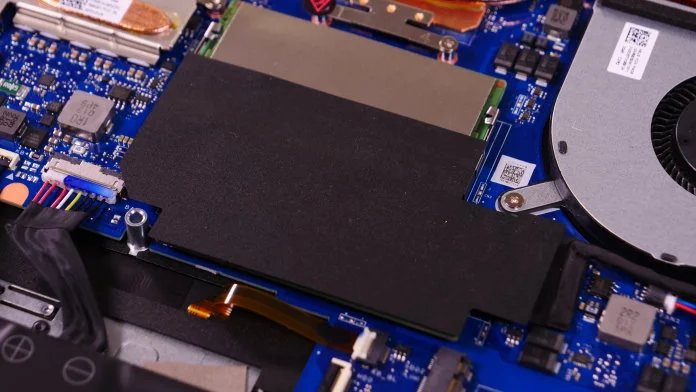
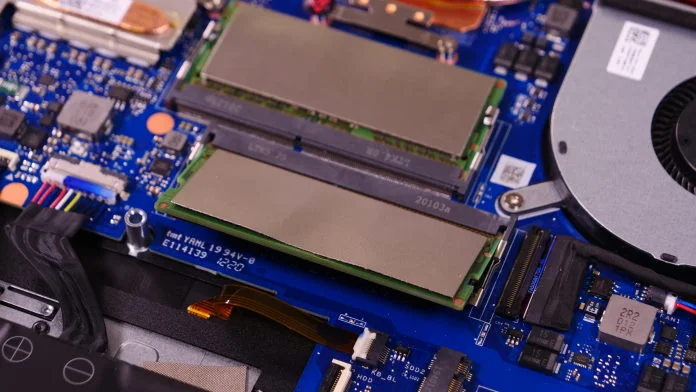
The RAM slots are easy to find in the A15. They’re in the middle of the device close to the CPU, and both are on the side of the motherboard facing you when you open the bottom lid. You won’t have to do a full device teardown just to upgrade the memory.
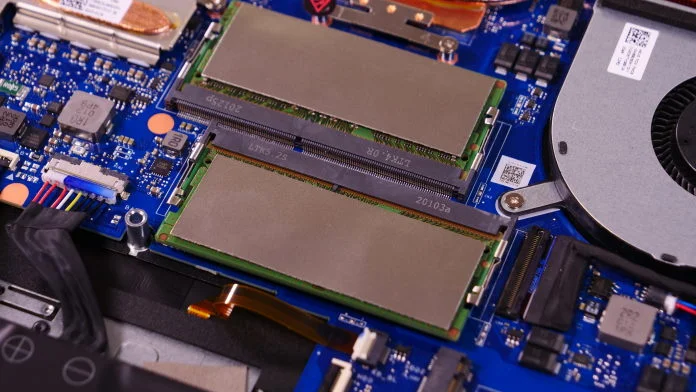
Peel back the black cover to access the slots.
There’s a metal bracket on either side of each stick of memory. Pull both ears of the bracket away gently, and the SO-DIMM will pop up slightly.
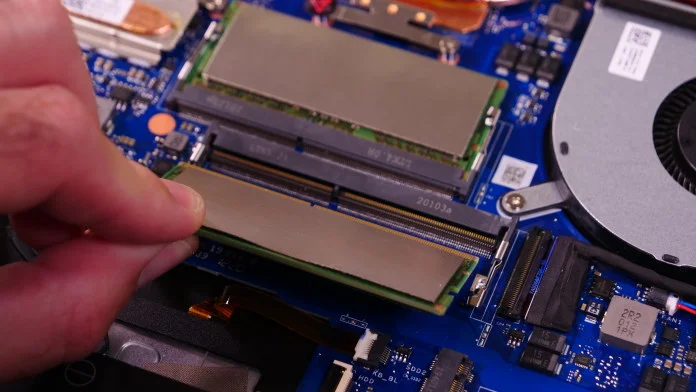
Now, pull the stick of memory back firmly yet gently to remove it from the slot. It’ll come out without too much fuss. Use steady pressure rather than a sudden yank.
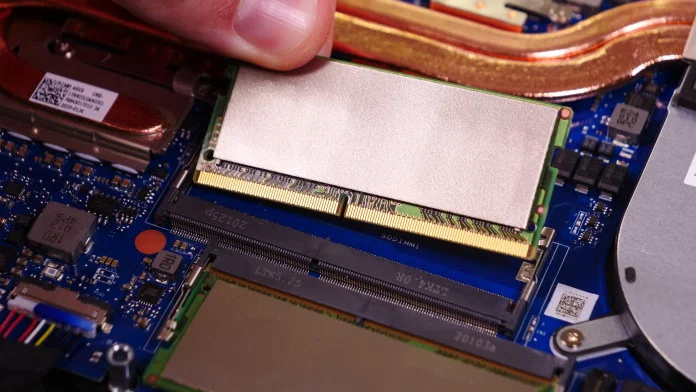
You’re now ready to insert the new SO-DIMM. Throughout this process, keep your fingers off the metal connections at the bottom of the stick. There’s a off-center notch on the bottom that makes sure the module only goes in one way. Get that lined up, and then push the RAM into the slot slowly and firmly. Once the stick is fully seated in the slot, push it down toward the motherboard until the mounting clips click into place. Repeat the process with your other new stick of RAM, and you’re ready to close the laptop and boot it up.
Easy upgrades give the TUF Gaming A15 long-term value
A gaming laptop is an investment. You want to get the most out of it for years after you’ve purchased it. We’ve configured the TUF Gaming A15 to give you incredible value today, and we’ve gone a step further to allow for convenient upgrades so it meets your needs for a long time to come.
That’s why opening up the A15 is a no-nonsense process. The bottom panel is secured by standard Phillips-head fasteners, and it’s easy to remove thanks to our specially designed pop-up screw. Once you’ve removed the panel, the RAM and M.2 slots are ready to hand. None of them are hidden out of reach on the opposite side of the motherboard.
So go ahead and download all your favorite games and apps. Get started on those content creation projects. If you run out of storage space or memory, a quick, easy upgrade is all it’ll take to keep the A15 one step ahead.