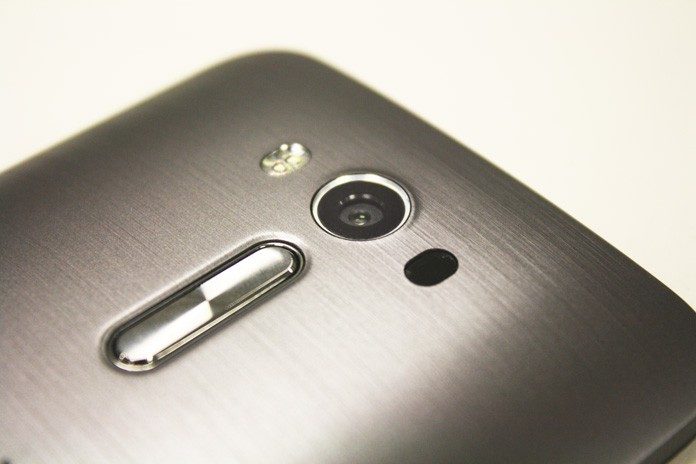
Taking pictures on Auto Mode with a smartphone can be the easy simple way to get what you want. Point. Shoot. But the problem is that sometimes you can’t get exactly what you envision. Maybe you want to see streaks as a car goes by, or your pictures are coming out a bit yellower than you’d like. This is where Auto Mode fails and Manual Mode can be superior. Granted, there are some presets in PixelMaster that can give you some really fun, interesting pictures. But for the aspiring photographer, there are some levers you can tweak in manual mode that I’ll show you and give you a great shot. Trust me, it’s not as scary as it sounds!
There are five functions that allow you to adjust the settings prior to taking a shot:
- White Balance
- Exposure Value
- ISO (Photosensitivity)
- Shutter Speed
- Focus
White Balance
When you’re in Auto Mode, the auto white balance can make your pictures look too warm or too cool under different conditions like fluorescent lighting, or in daylight. Notice how in this shot, the Auto White balance is a bit yellow. By tapping on the WB icon, we can readjust on the slider to make the image a bit closer to the real thing.
Exposure Value
Here we have an example of how to use the Exposure Value setting. In this case, I thought the image was looking a bit bright, so I adjusted the value down so the image of the department turned out darker like I wanted. By turning it up, the sensor would be over exposed.
ISO (Sensitivity)
This helps to adjust how sensitive the sensor is to light. By increasing sensitivity, the output image is going to be much brighter, and there will be noise introduced in the image. With low sensitivity, the less sensitive the image sensor is, and less noise will be apparent. Sometimes having higher ISO as in lower lighting conditions is necessary to capture the shot you need.
Shutter Speed
Shutter speed is how long the shutter is open to take in light. You will want to use this in tandem with your ISO and EV to get the shot you want. If you have a low ISO and long shuttespeed for example, you can create pictures like the one I made below.
Focus
The focus function on the ZenFone 2 will allow you to manually focus on different objects in your image. You can focus more closely for macro shots, or focus on objects further away like in landscapes. See the difference in the same shot when I adjust the focus distances.
![]() There you have it! You’ll need to tweak and practice taking shots using the different tools in Manual Mode for the camera of the ZenFone 2. You’ll become the next Ansel Adams in no time!
There you have it! You’ll need to tweak and practice taking shots using the different tools in Manual Mode for the camera of the ZenFone 2. You’ll become the next Ansel Adams in no time!

